

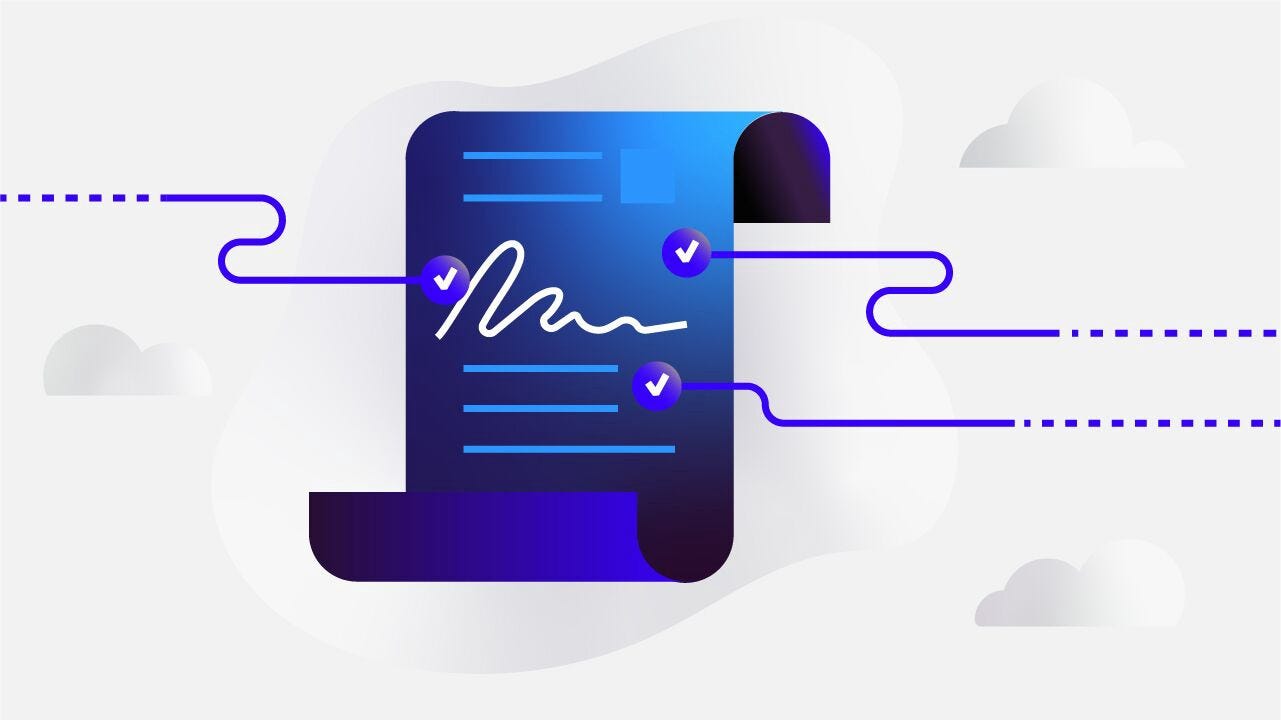
Verify ANY Digital File Without the Need of a Third Party!
Verify ANY Digital File Without the Need of a Third Party!
How to sign contracts and other documents without the need of a middleman
Verify ANY digital file on the blockchain without the need of a third party!

First, you need to understand the technology behind this…
Blockstack: A decentralized naming and storage system using blockchain.
It enables you to connect to over 200+ blockchain applications using your browser and one simple Blockstack account.
We had introduced Blockstack in one of our first articles. In the article, we were able to store documents on the blockchain.
Let us introduce you to another Blockstack application!
Blockusign is doing the same to verification as Bitcoin is to banks.
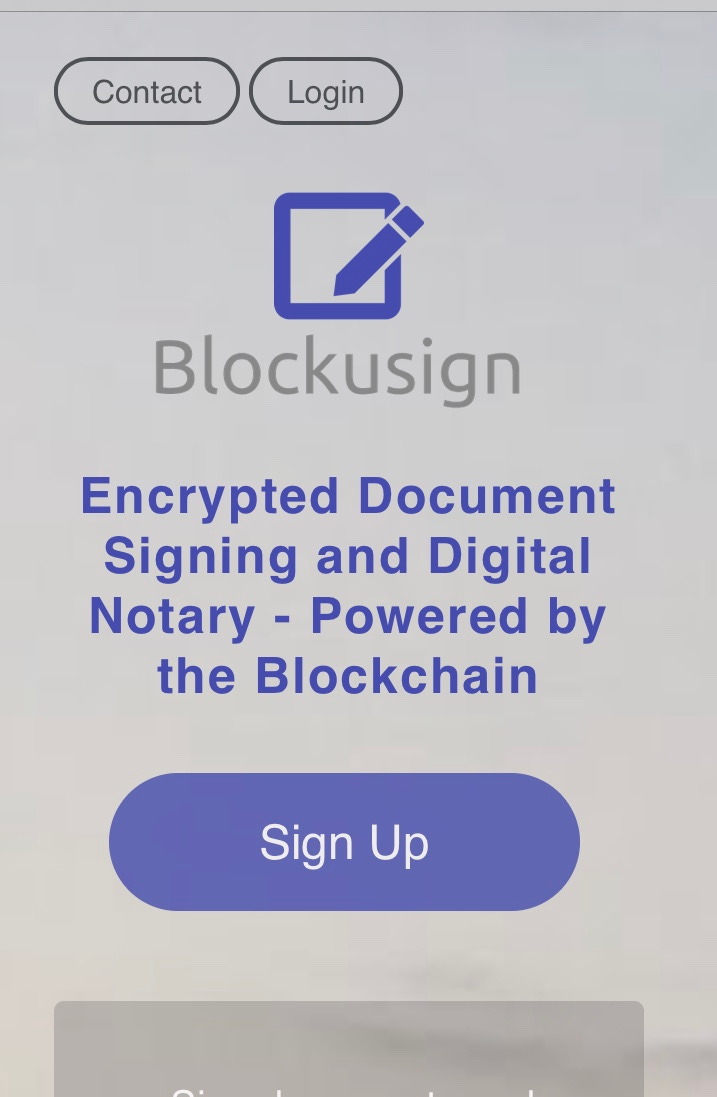
What is Blockusign?
The documents signed on Blockusign can live on forever and can even be proven a thousand years from now!
And guess what? The documents can’t be forged once they are on the blockchain.

Now…How do I use Blockusign?
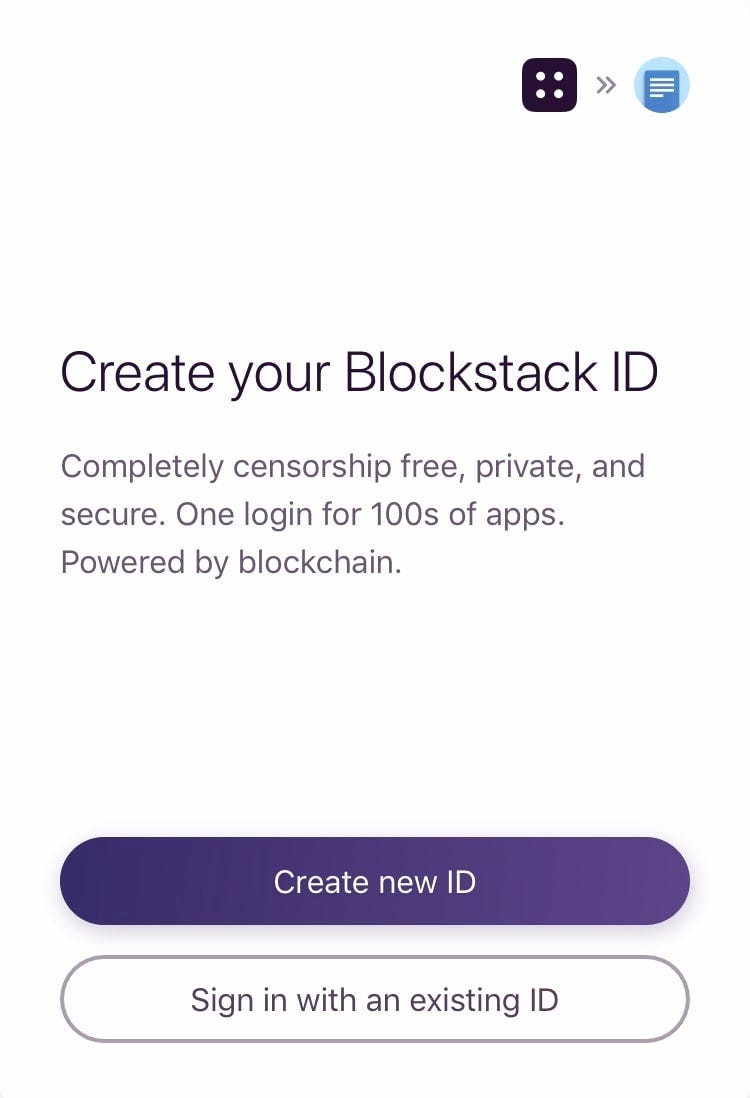
To get started, create a blockstack account HERE.
You now have a Blockstack ID which can be used to access the 200+ applications!
Next, go on the Blockusign website.
Select login above
You will then be redirected to a Blockstack login page. Enter your Blockstack information.
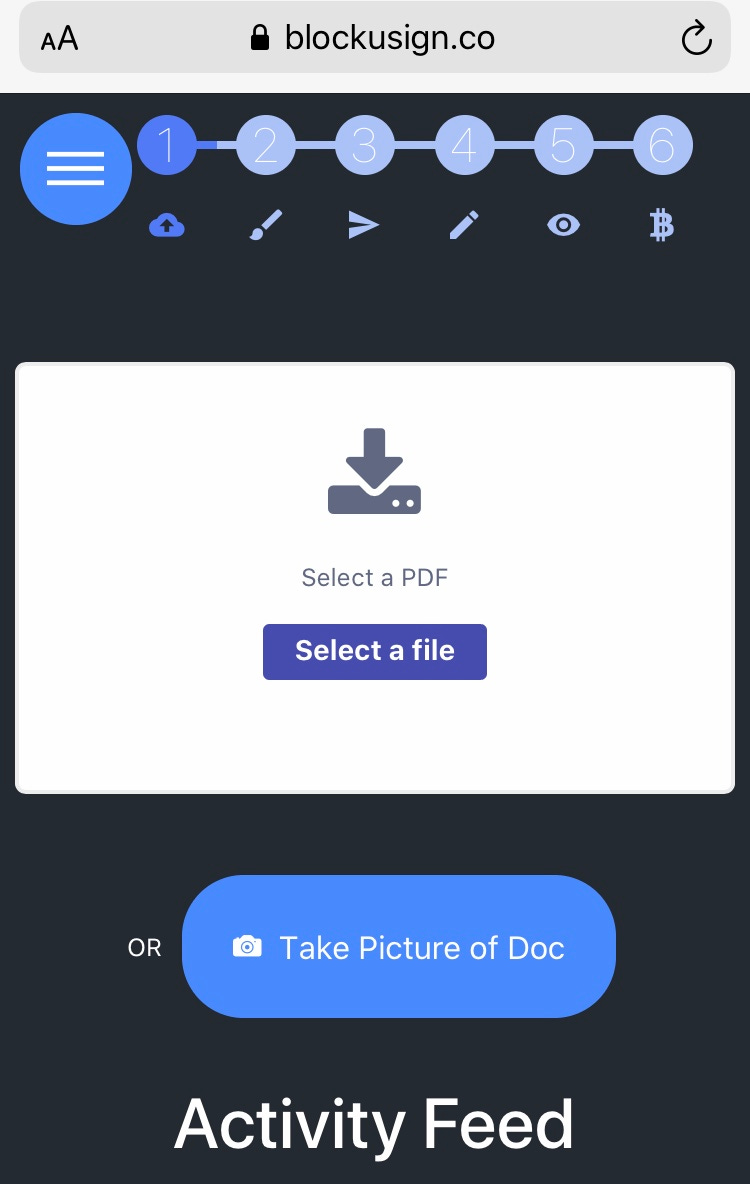
A successful login will send you back to the Blockusign website. You will now be able to see the screen above with six steps needed to verify the document.
Step 1: Upload your document.
(This must be a PDF file)
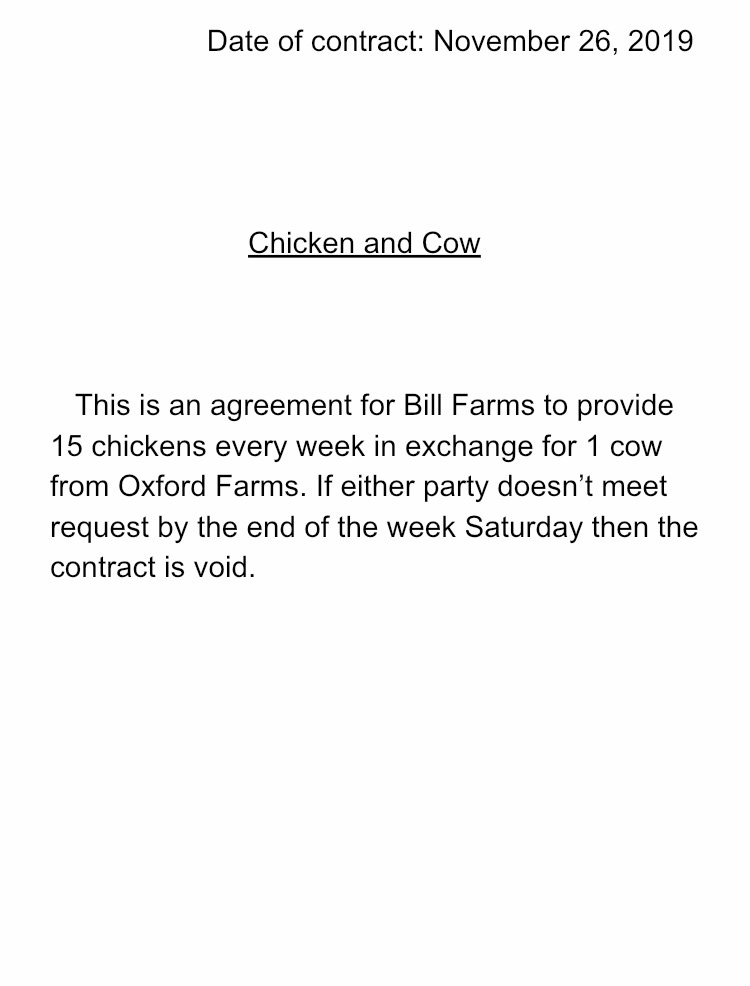
Here is an example of a contract that we completely made up involving two farmers, 15 chickens and a cow 😂🤷♂️.
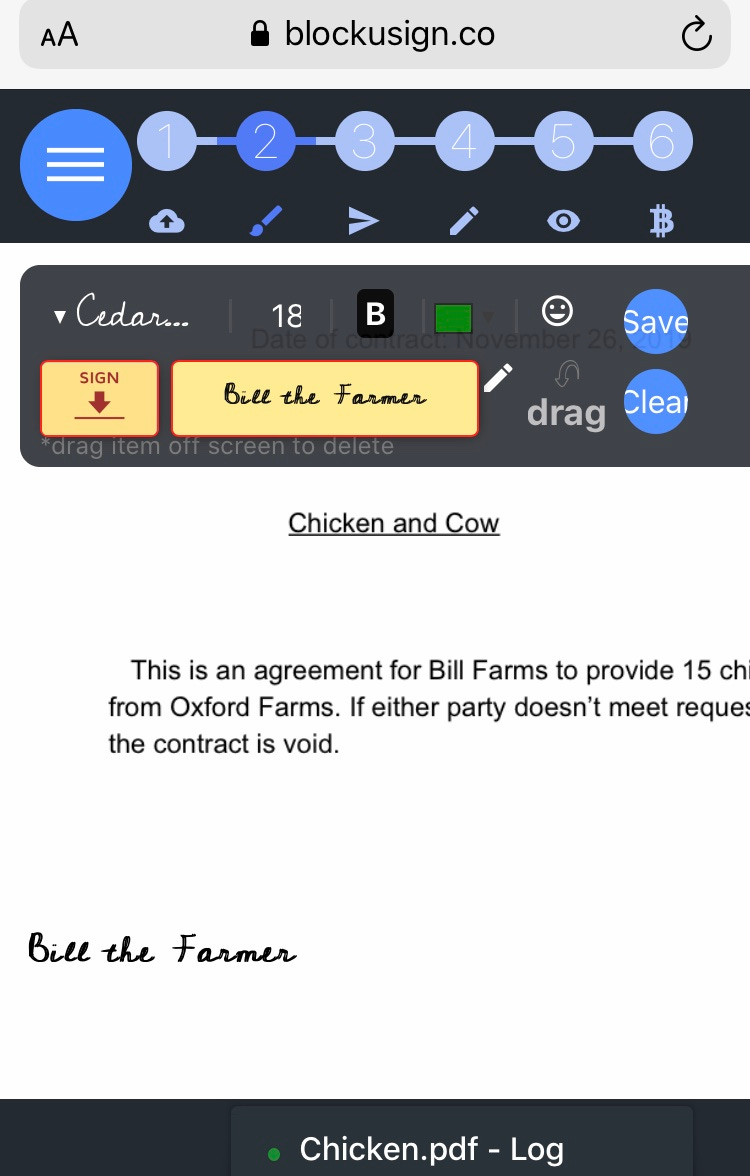
Step 2: Bill is the one creating the contract and has to sign it first.
He has a chicken farm but no cows. However, Jared from Oxford Farms has cows but no chickens. They each want to maximize their earning potential 🤔.
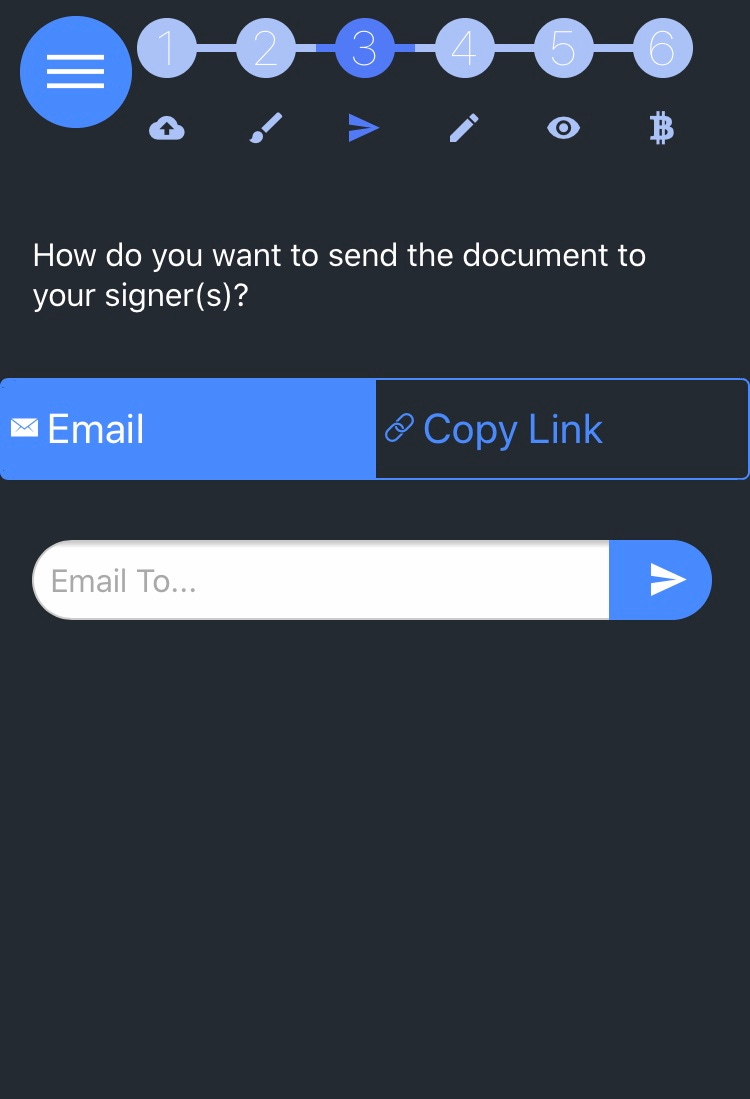
Step 3: Now Bill must send this signed document to Jared at Oxford Farms.
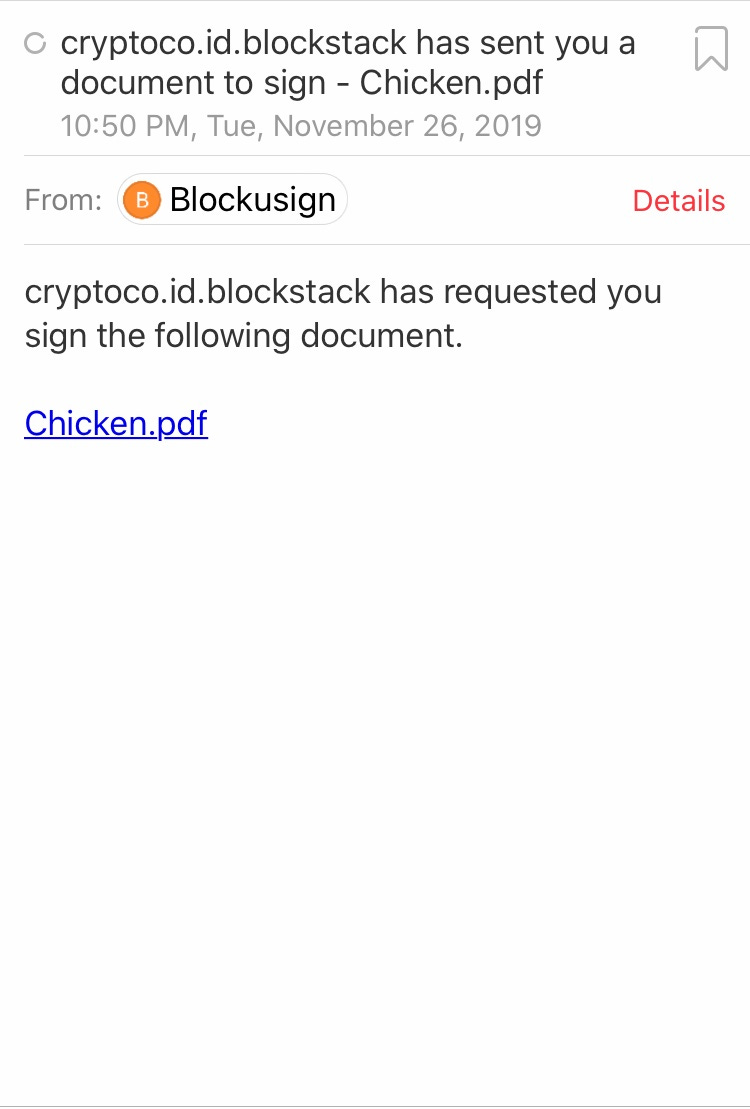
Jared will then receive an email like the one above 👍.
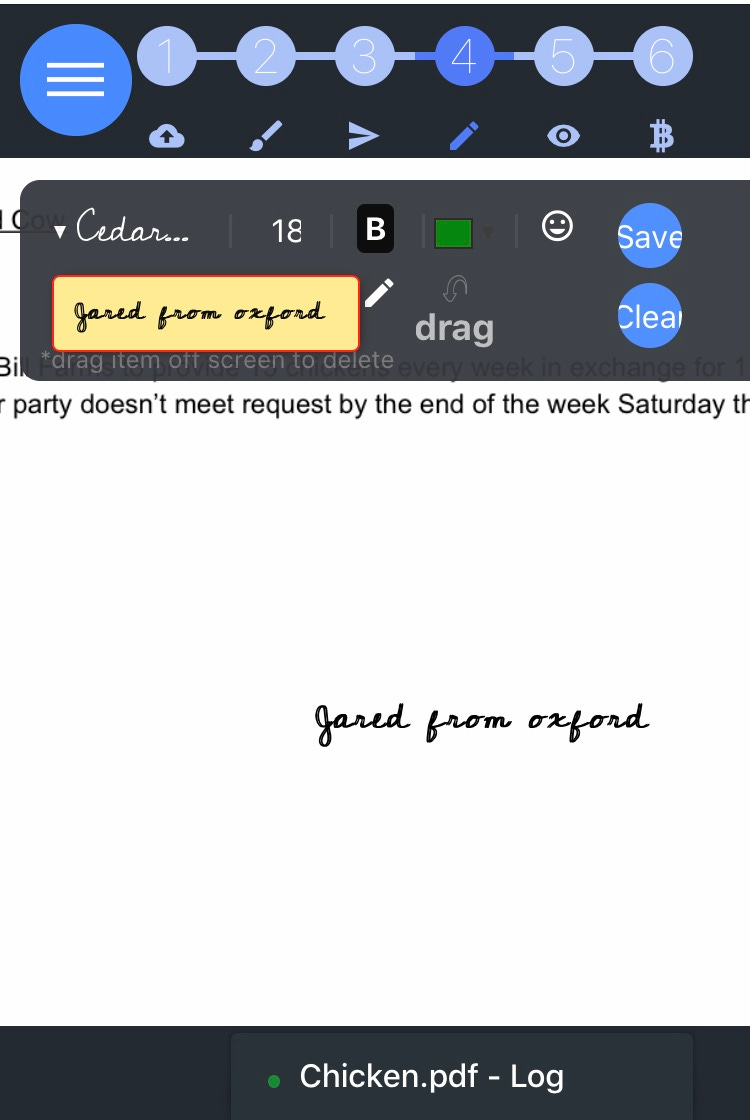
Step 4: Now Jared must select the “chicken.pdf” file and sign the document.

Once Jared signs it, a message will pop up asking him to enter Bill’s email address.

Then, Bill will receive an email confirmation like the one above 👆.
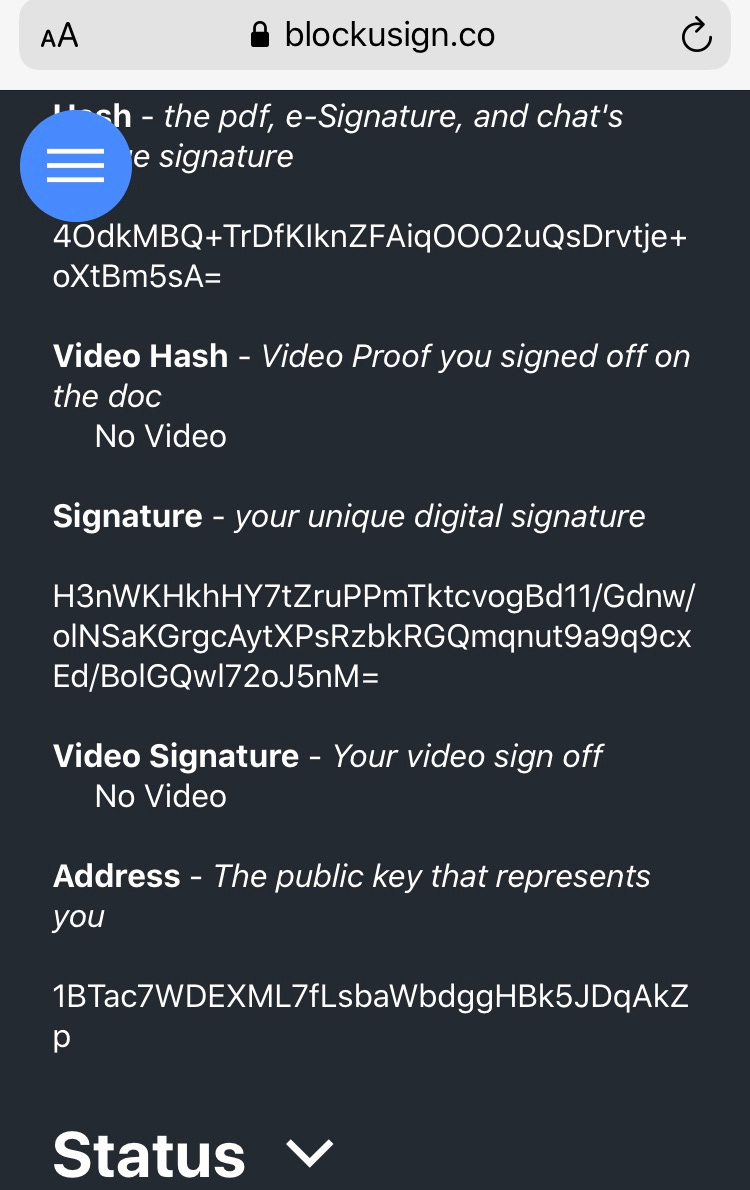
Step 5: This is to review your information. In the picture above, the first string of code starting with “4Odk…” represents the hash which is the digital identity of the document.
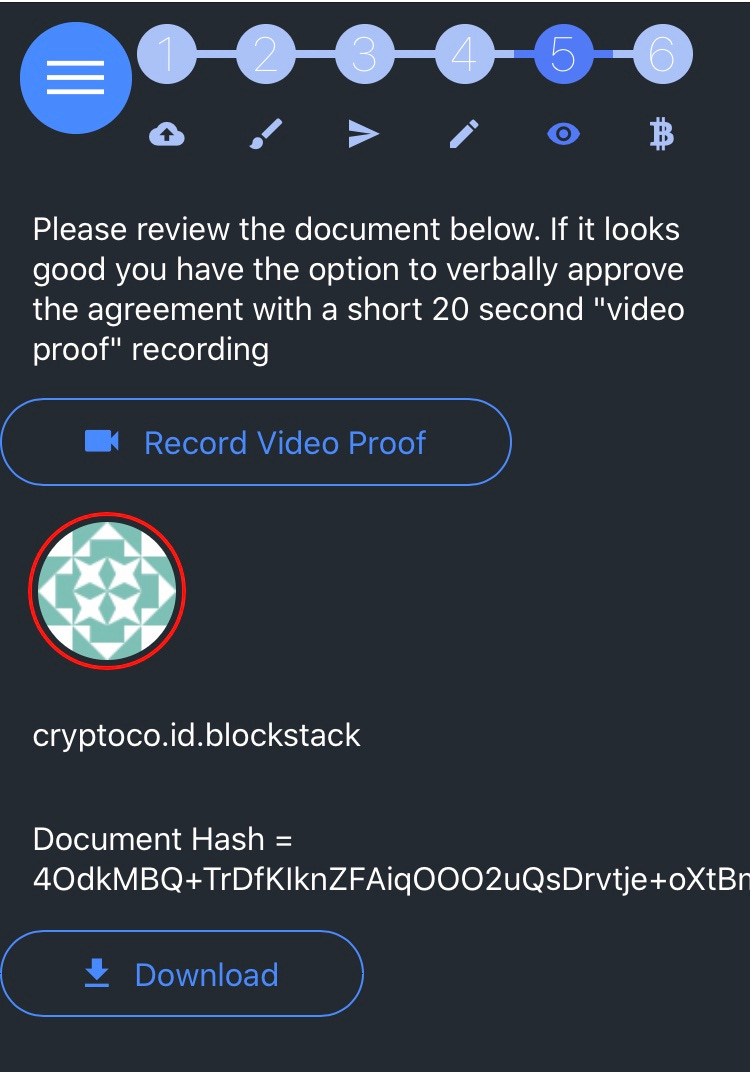
Bill will also have the option to record a short 20 second video to add to the signed document as verbal proof.
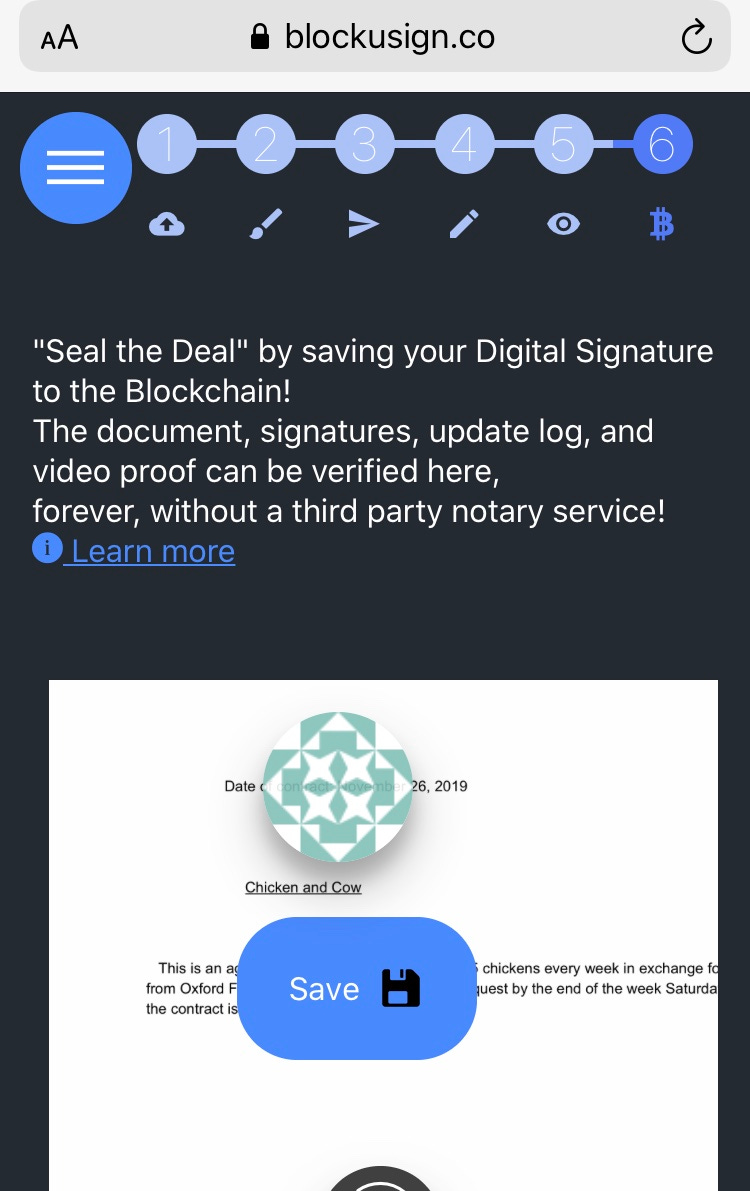
Step 6: “Seal the Deal!”
Select save to permanently save the signed document on the blockchain.
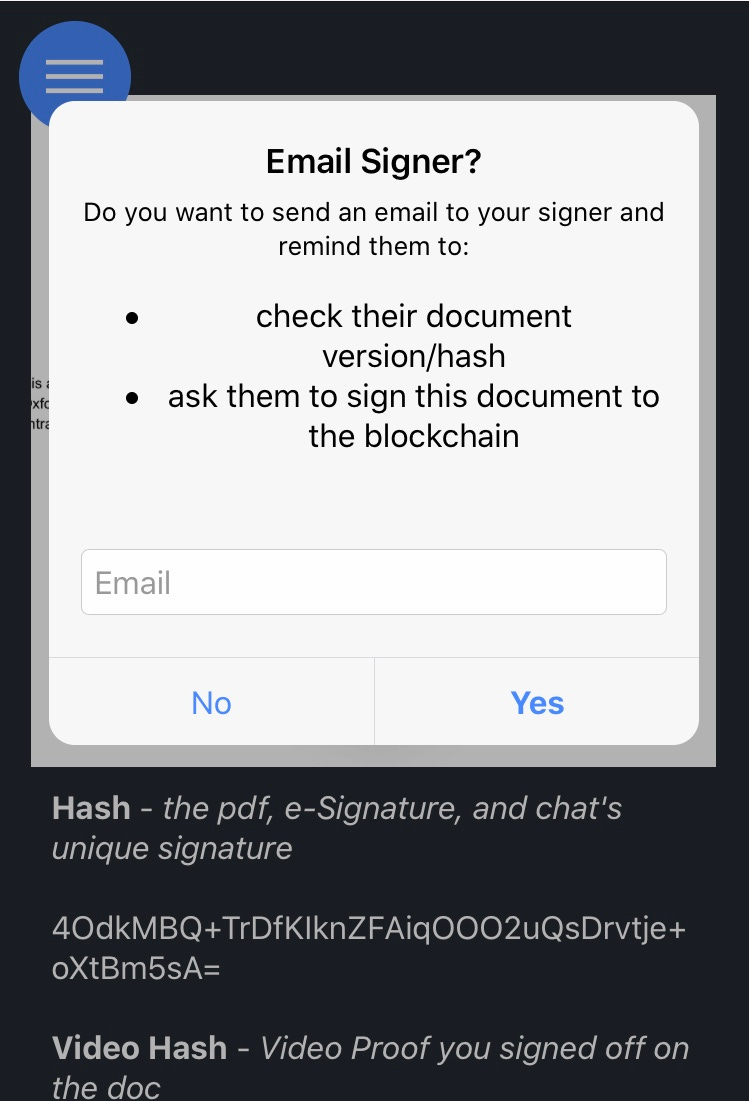
Before saving the document, Bill will have to remind Jared.
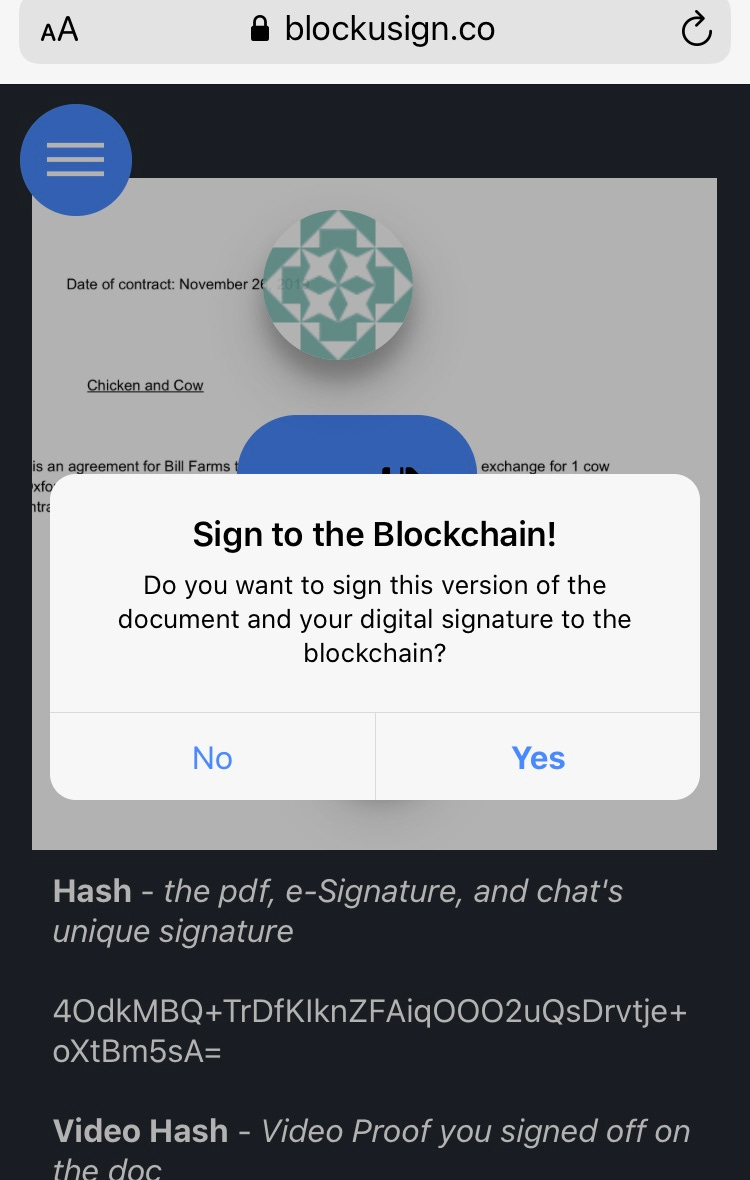
Select yes
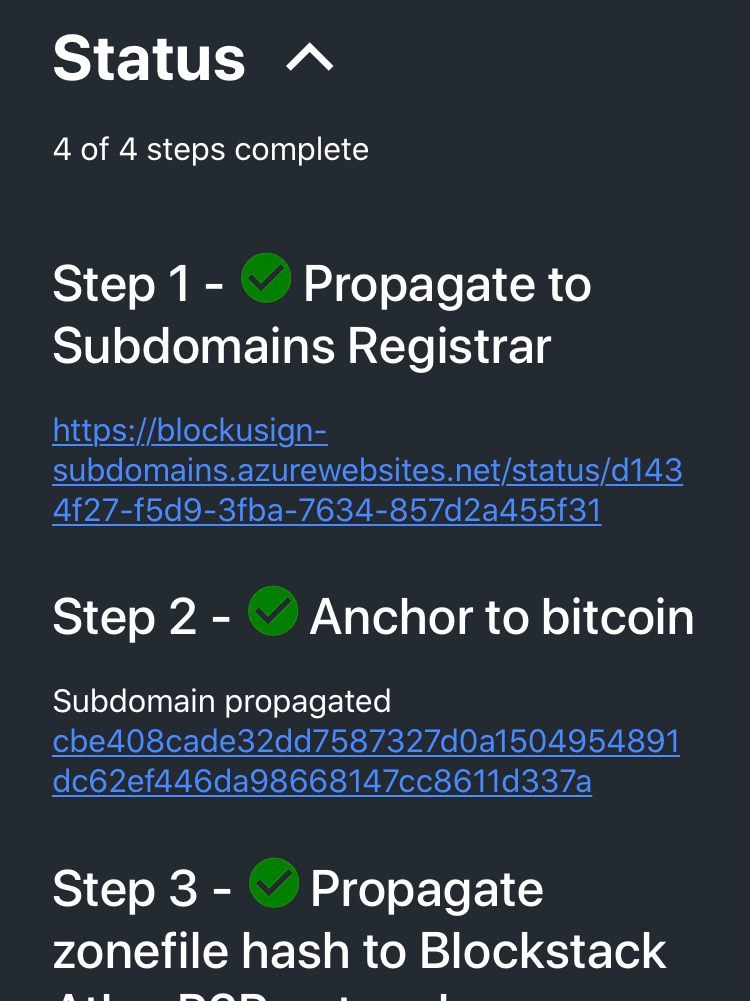
After a few verifications, your document should be permanently saved.
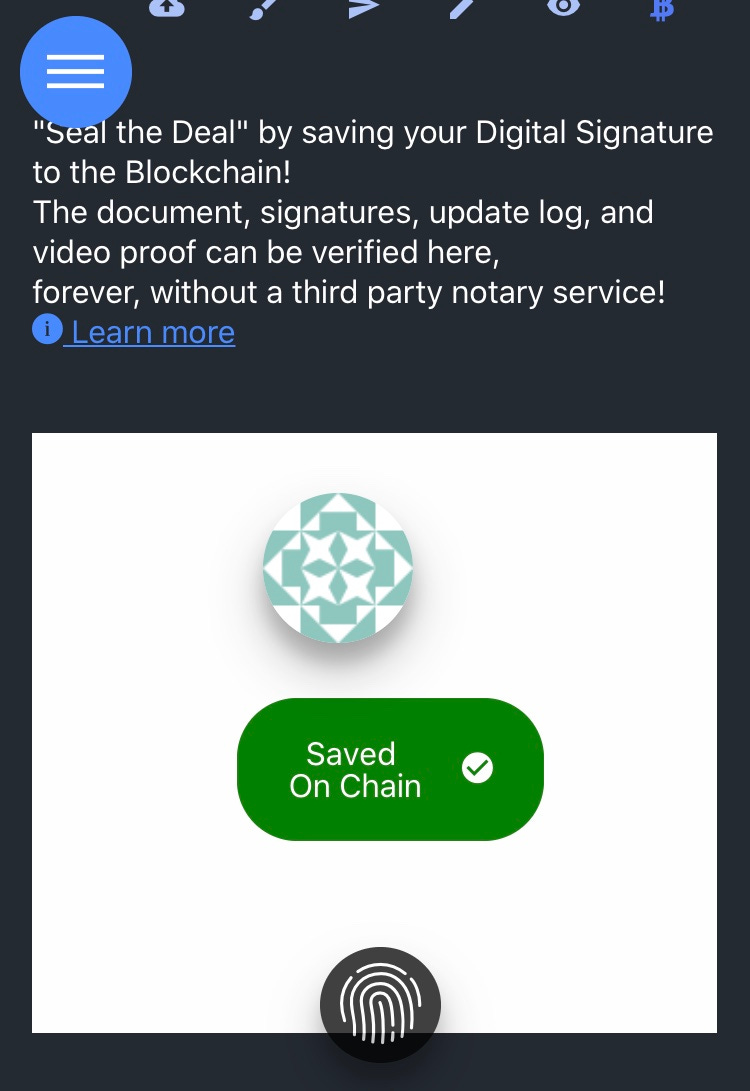
Bill and Jared’s contract is now saved on the blockchain! He can now prove that his agreement with Jared did take place and was agreed upon by both parties.