


Displaying Data with Table (Part II)
Adding "Magical" Features to a SwiftUI Table


SwiftUI offers table, a fantastic component for visualizing complex data. Further, we can enhance the UX of a table very quickly, yet powerfully. In this Part II, we will explore some of those features with our Table of Spells.
Towards the end, I’ll wrap up by discussing Table on iOS and how best to navigate its limitations.
Adding “Magic” to a Table
Sorting
A basic and expected feature is being able to sort rows based on a column. Fortunately, this Table makes it easy to set up. First, we’ll add a new state property:
@State var sortOrder: [KeyPathComparator<Spell>] = [KeyPathComparator(\Spell.name)]This uses a KeyPathComparator to set which property to base our sorting on. We initialize it to sort by name.
Then, in Table, we add a parameter that simultaneously signals that we want to enable sorting while binding the sorting preference to our new state property:
Table(spells, sortOrder: $sortOrder)Lastly, we add an onChange modifier to our Group. When a new sorting preference is set by Table, we react to that change by sorting our Spells by that new KeyPathComparator:
.onChange(of: sortOrder, initial: true) { _, newValue in
    spells?.sort(using: newValue)
}
Now when we run our app, click on one of the headers other than “Name” and watch as the sorting takes effect. Or, try clicking on “Name” multiple times and notice that it changes from increasing order to decreasing, and back again!
It’s interesting to note here that Table is not performing the sorting of the data. Instead, it:
Assumes that a provided
sortOrderbinding means that the feature should be enabledUses that binding to communicate which column has been selected to sort by
Signals through the change in the binding that a sort action should occur
Beyond that, it’s our responsibility to capture and react, accordingly. It’s an intentional design decision and one worth noting when designing our own components.
Selection
If a user wants to select a row/set of rows, Table offers another parameter selection. To set up, we would make the following changes:
// 1. Add new State property for an Optional Spell ID
@State var selectedSpell: Spell.ID?

// 2. Add the parameter and pass in the new property
Table(spells, selection: $selectedSpell)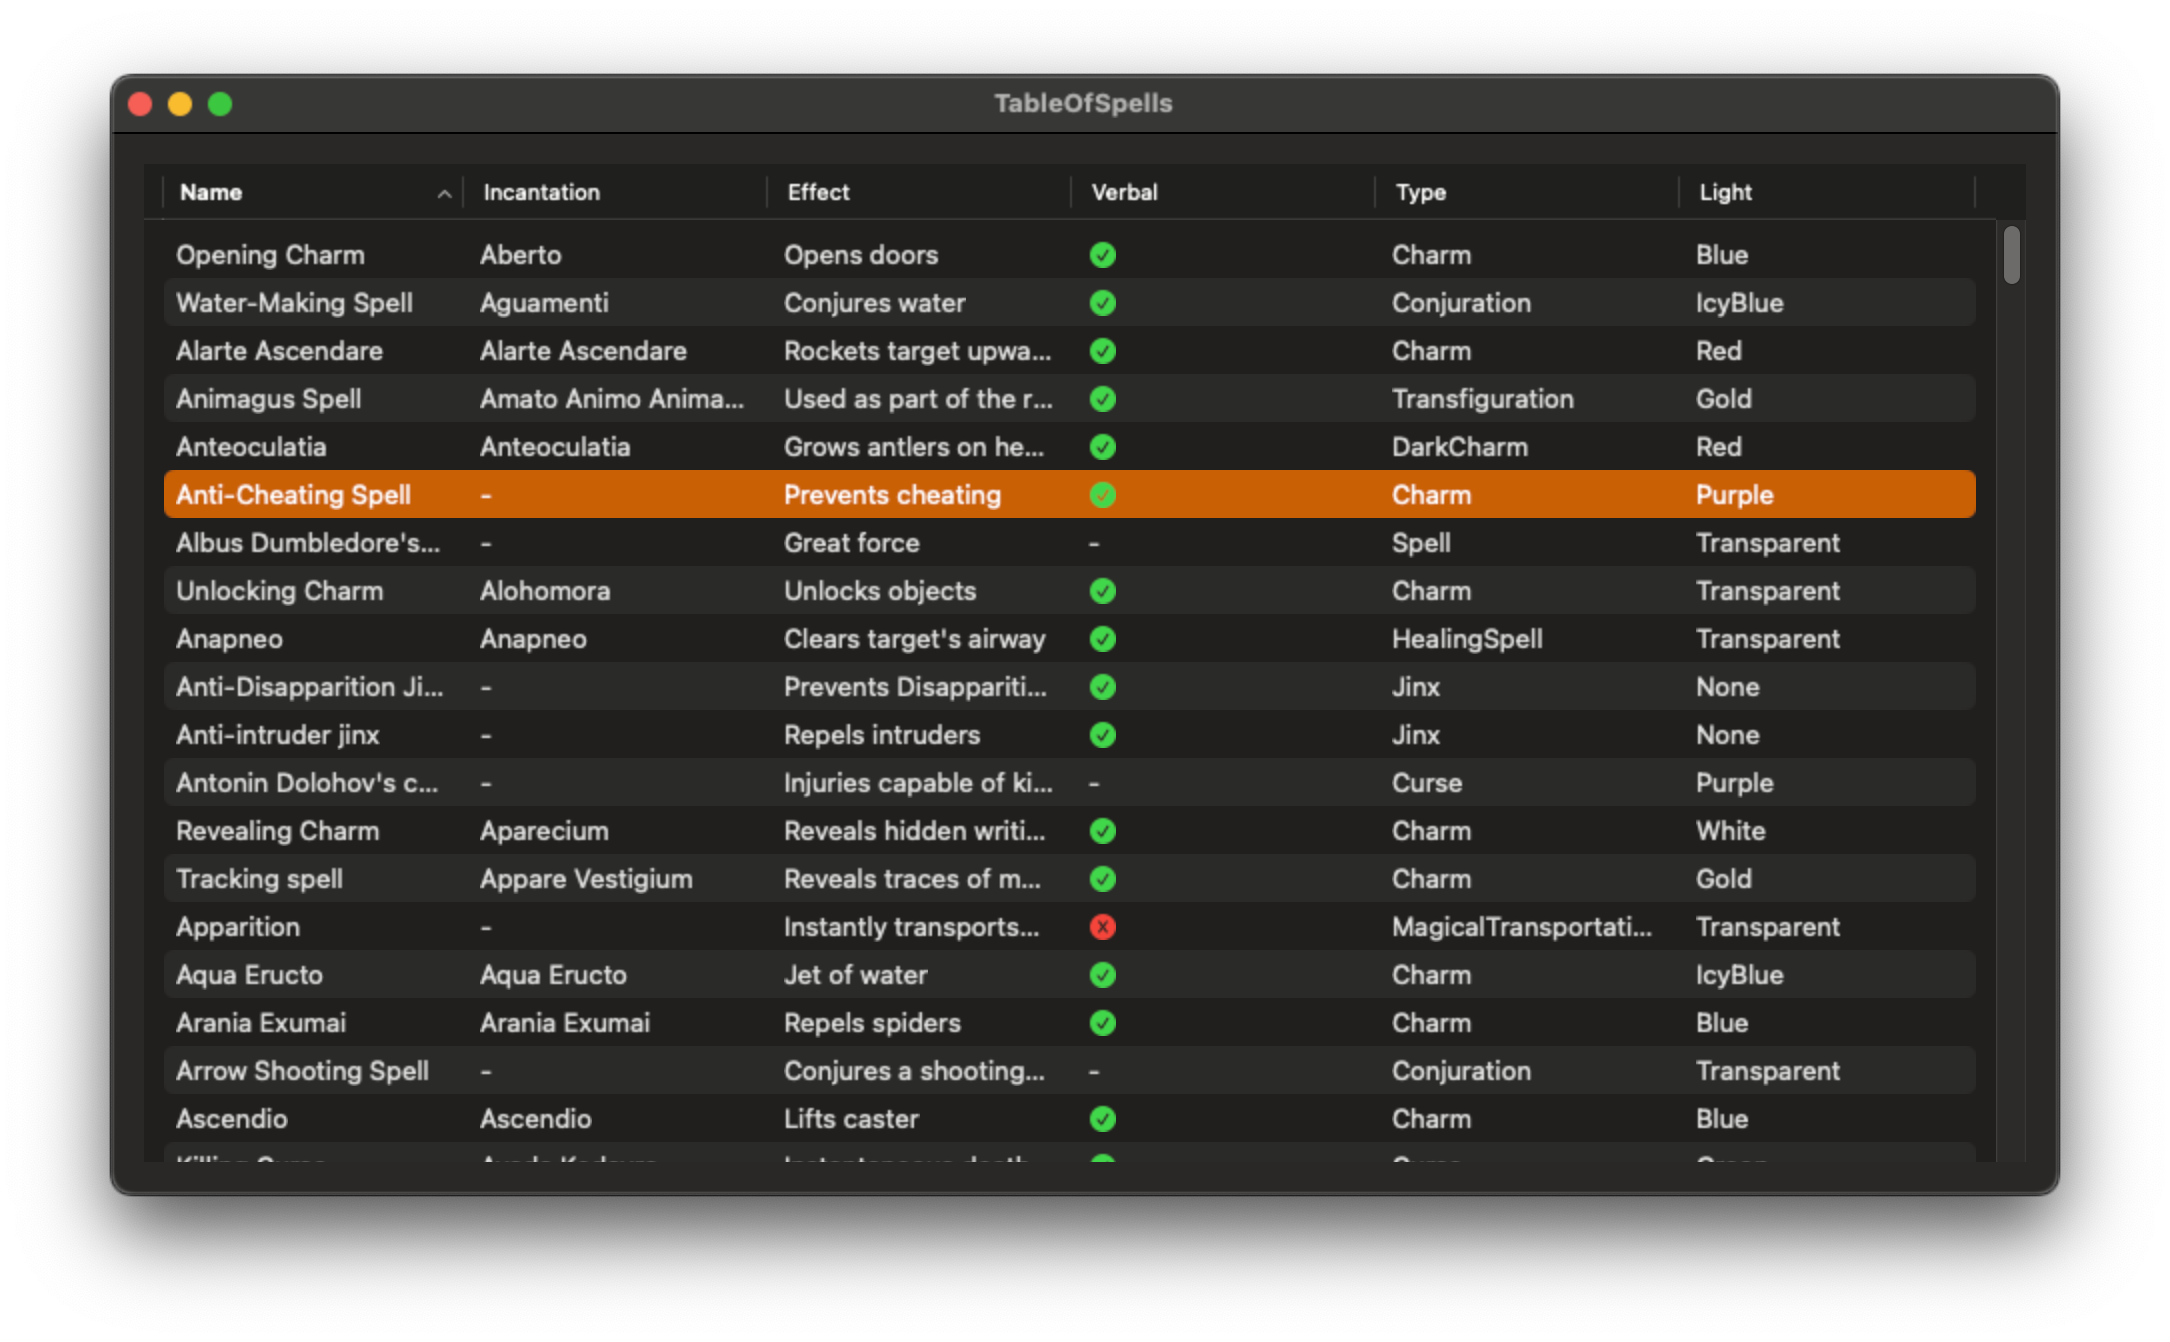
Almost the same implementation as sorting. This time, however, we enable highlighting a single row upon a user click. If we want to enable highlighting multiple rows, we can change our property to a Set of id:
@State var selectedSpell = Set<Spell.ID>()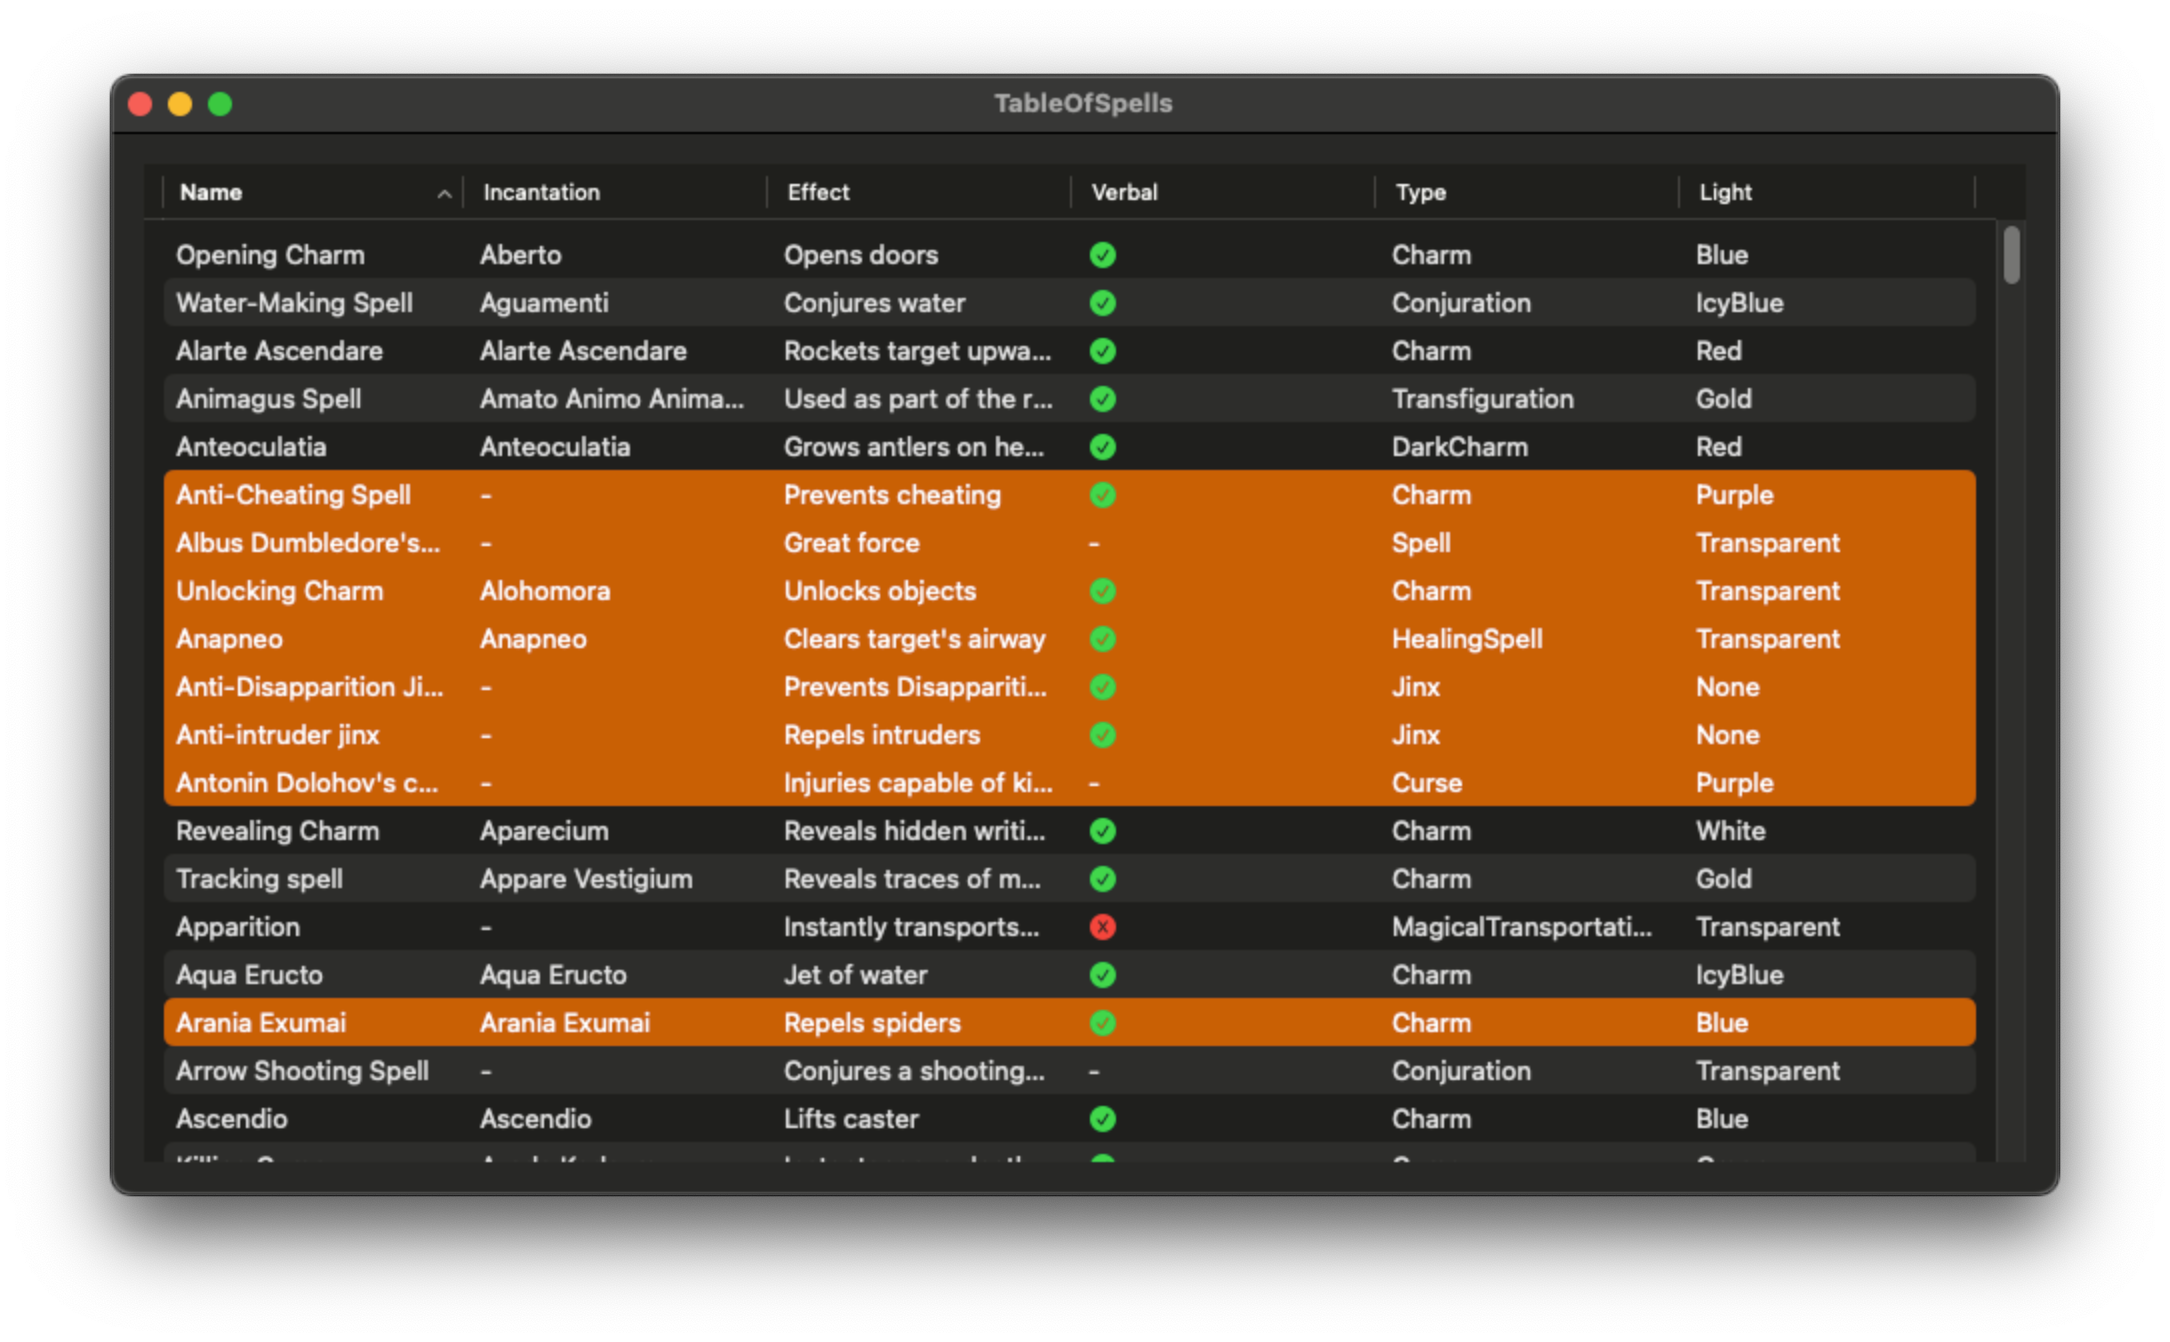
Further, we can add another onChange on our new property to trigger an action (e.g. opening a new window with a dedicated spell page).
Context Menu (Right-click/Long press)
One more functionality we’ll explore is summoning a Context Menu. On iOS/iPad, these are triggered by long-pressing a component, whereas on macOS, they are triggered by right-clicking, which is a more common user interaction than we tend to believe.
Let’s say our user wants a simple way to copy a spell name to the system pasteboard. It would be helpful to provide it using a Context Menu option.
To do this, we’ll need to make a small adjustment to our Table. In order for us to attach Context Menu to each individual row, we’ll need to expose those rows for modification.
First, we’ll change how we declare Table to provide a value type instead of our data, directly.
Table(of: Spell.self, selection: $selectedSpell, sortOrder: $sortOrder)Then, after our columns closure, we’ll add another parameter (rows) and it’s closure:
rows: {
    ForEach(spells) { spell in
        TableRow(spell)
    }
}
This defines each row we want to see (in this case, a row for each spell). If we ran our app right now, there would be no difference to what we had before. But now that we’ve exposed those rows in code, we can edit and modify them:
rows: {
    ForEach(spells) { spell in
        TableRow(spell)
            .contextMenu {
                Button("Copy Spell Name") {
                    let pb = NSPasteboard.general
                    pb.declareTypes([.string], owner: nil)
                    pb.setString(spell.name, forType: .string)
                }
            }
    }
}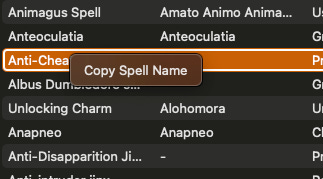
Now when we run our app and right-click a row, we’ll see a menu with the option to copy that row’s spell name.
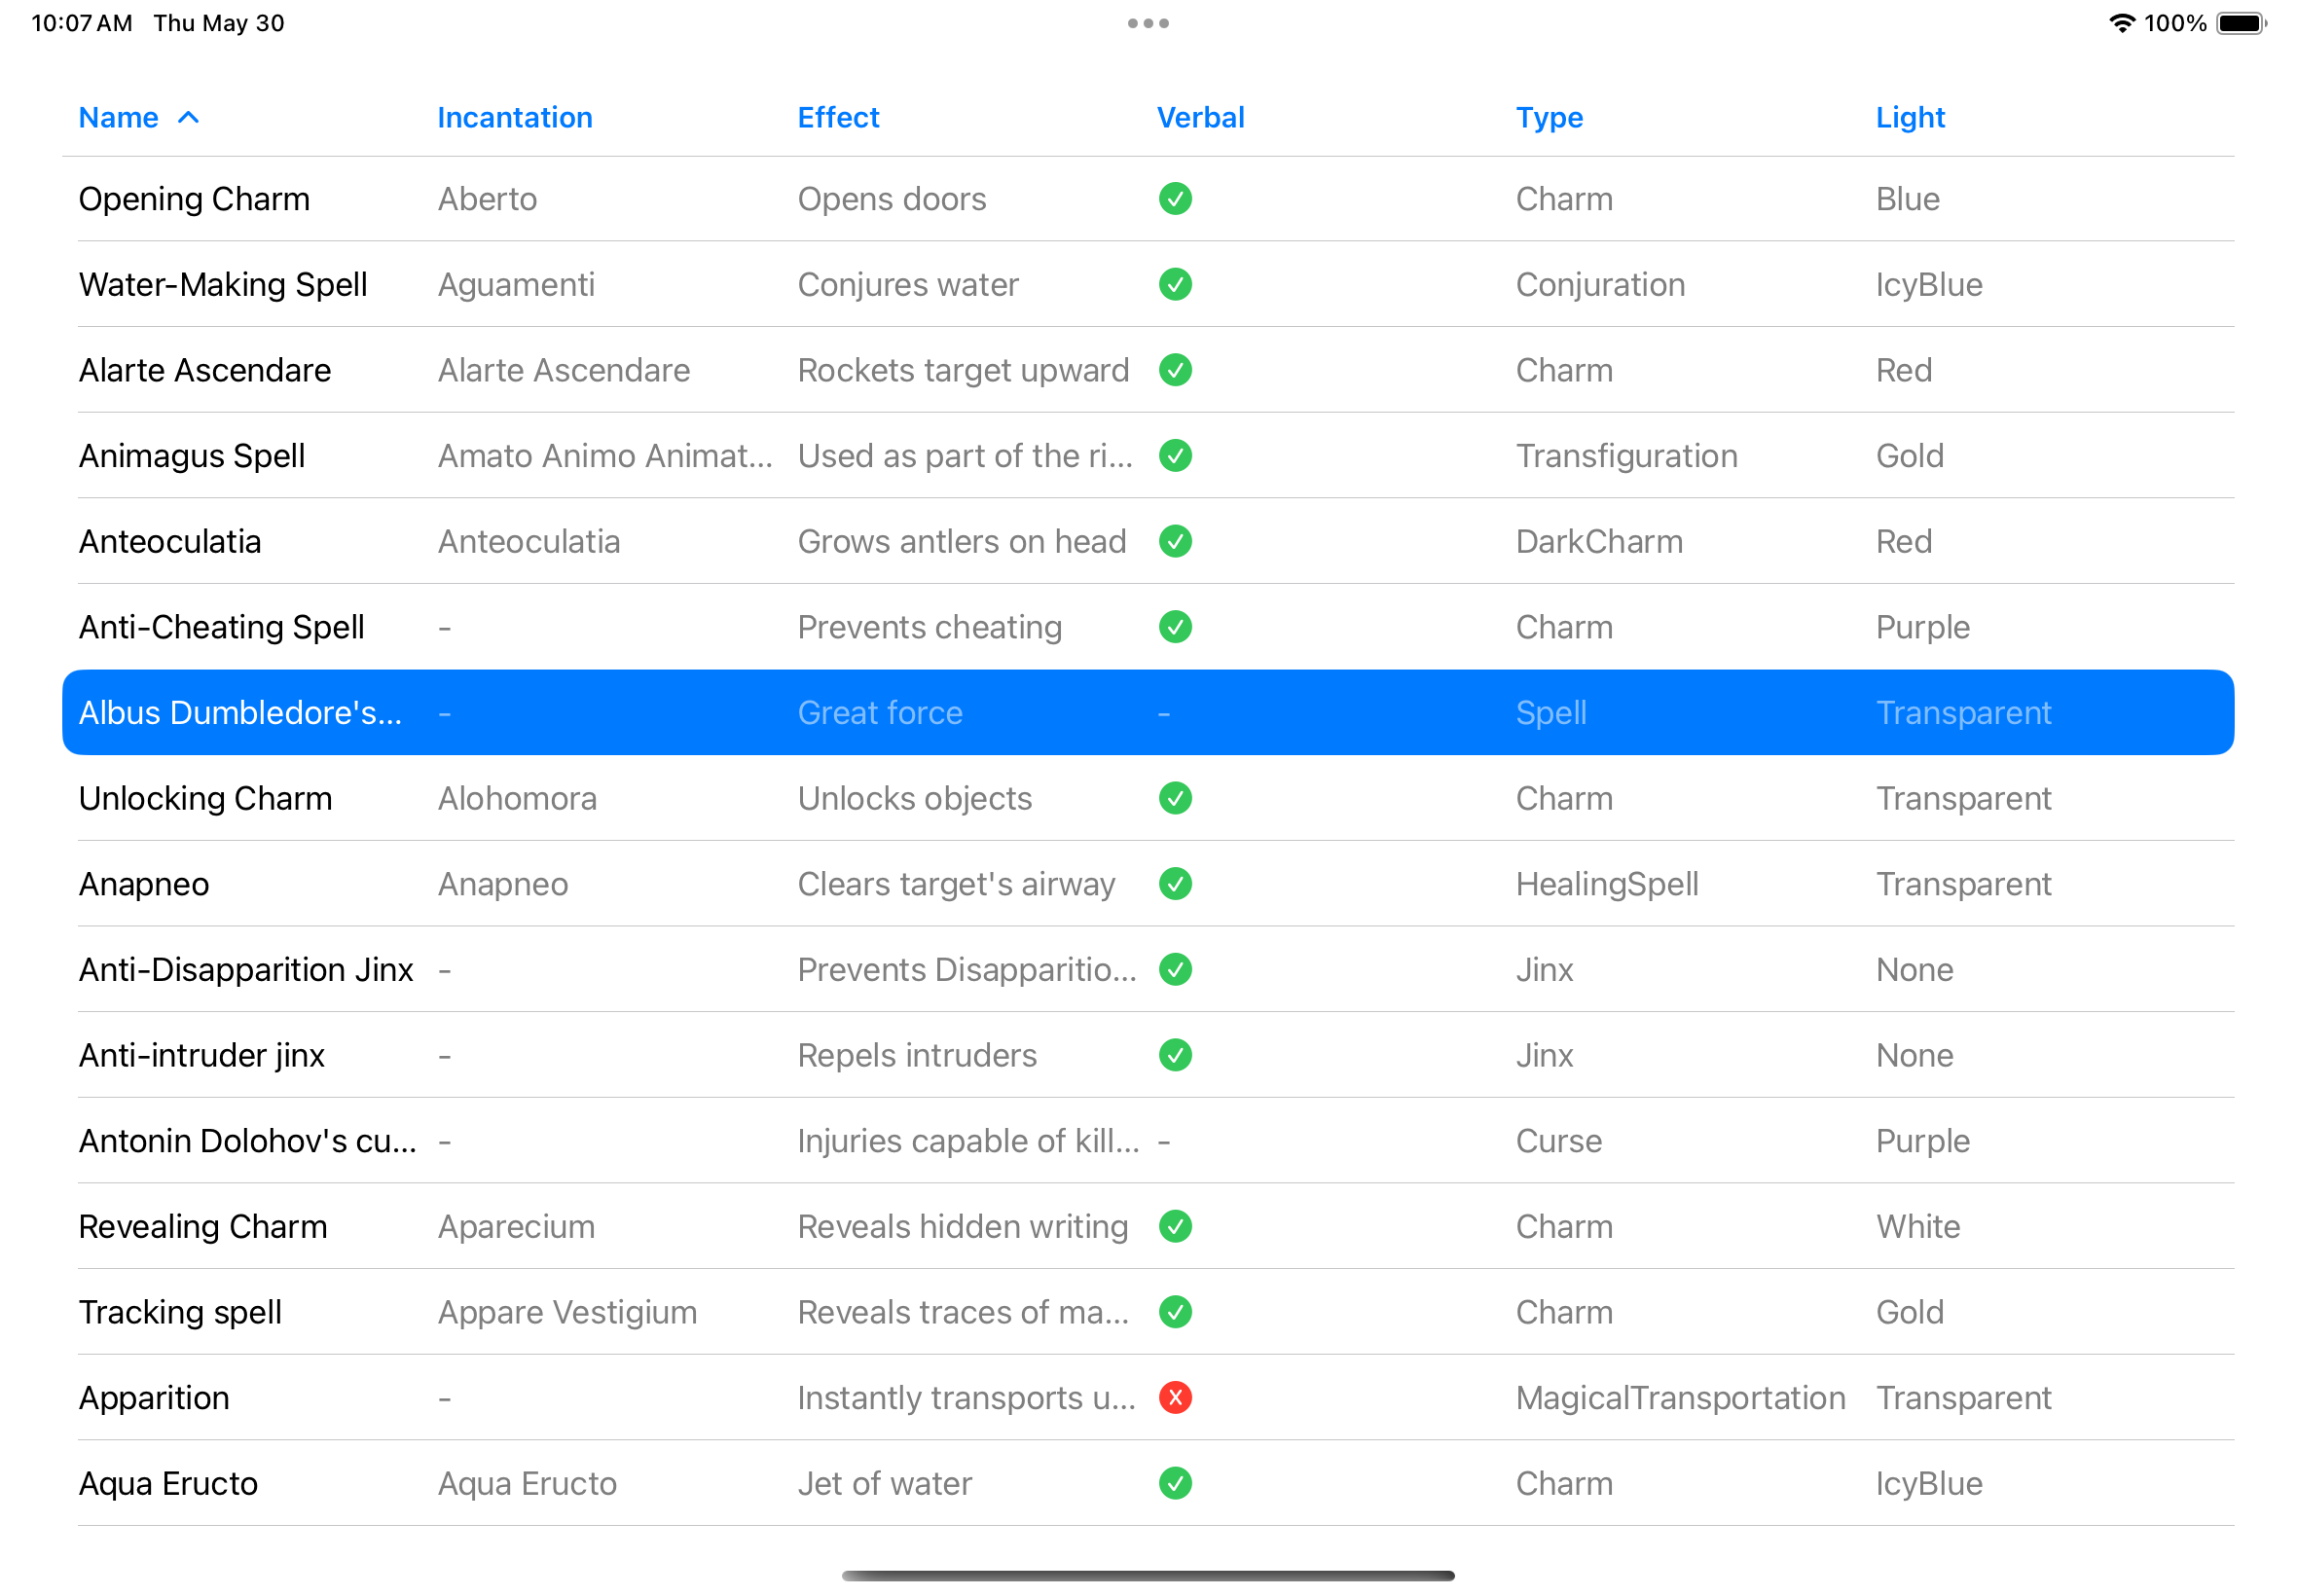
Casting Table on iOS and iPadOS
As mentioned before, Table is available across platforms. If we take our TableOfSpells code and add it to an iOS project, we can observe how it appears on iPad and iPhone.
For iPad, it looks fantastic and works great with touch gestures:
However, on iPhone, we see how Apple passive-aggressively displays the first column and nothing else:
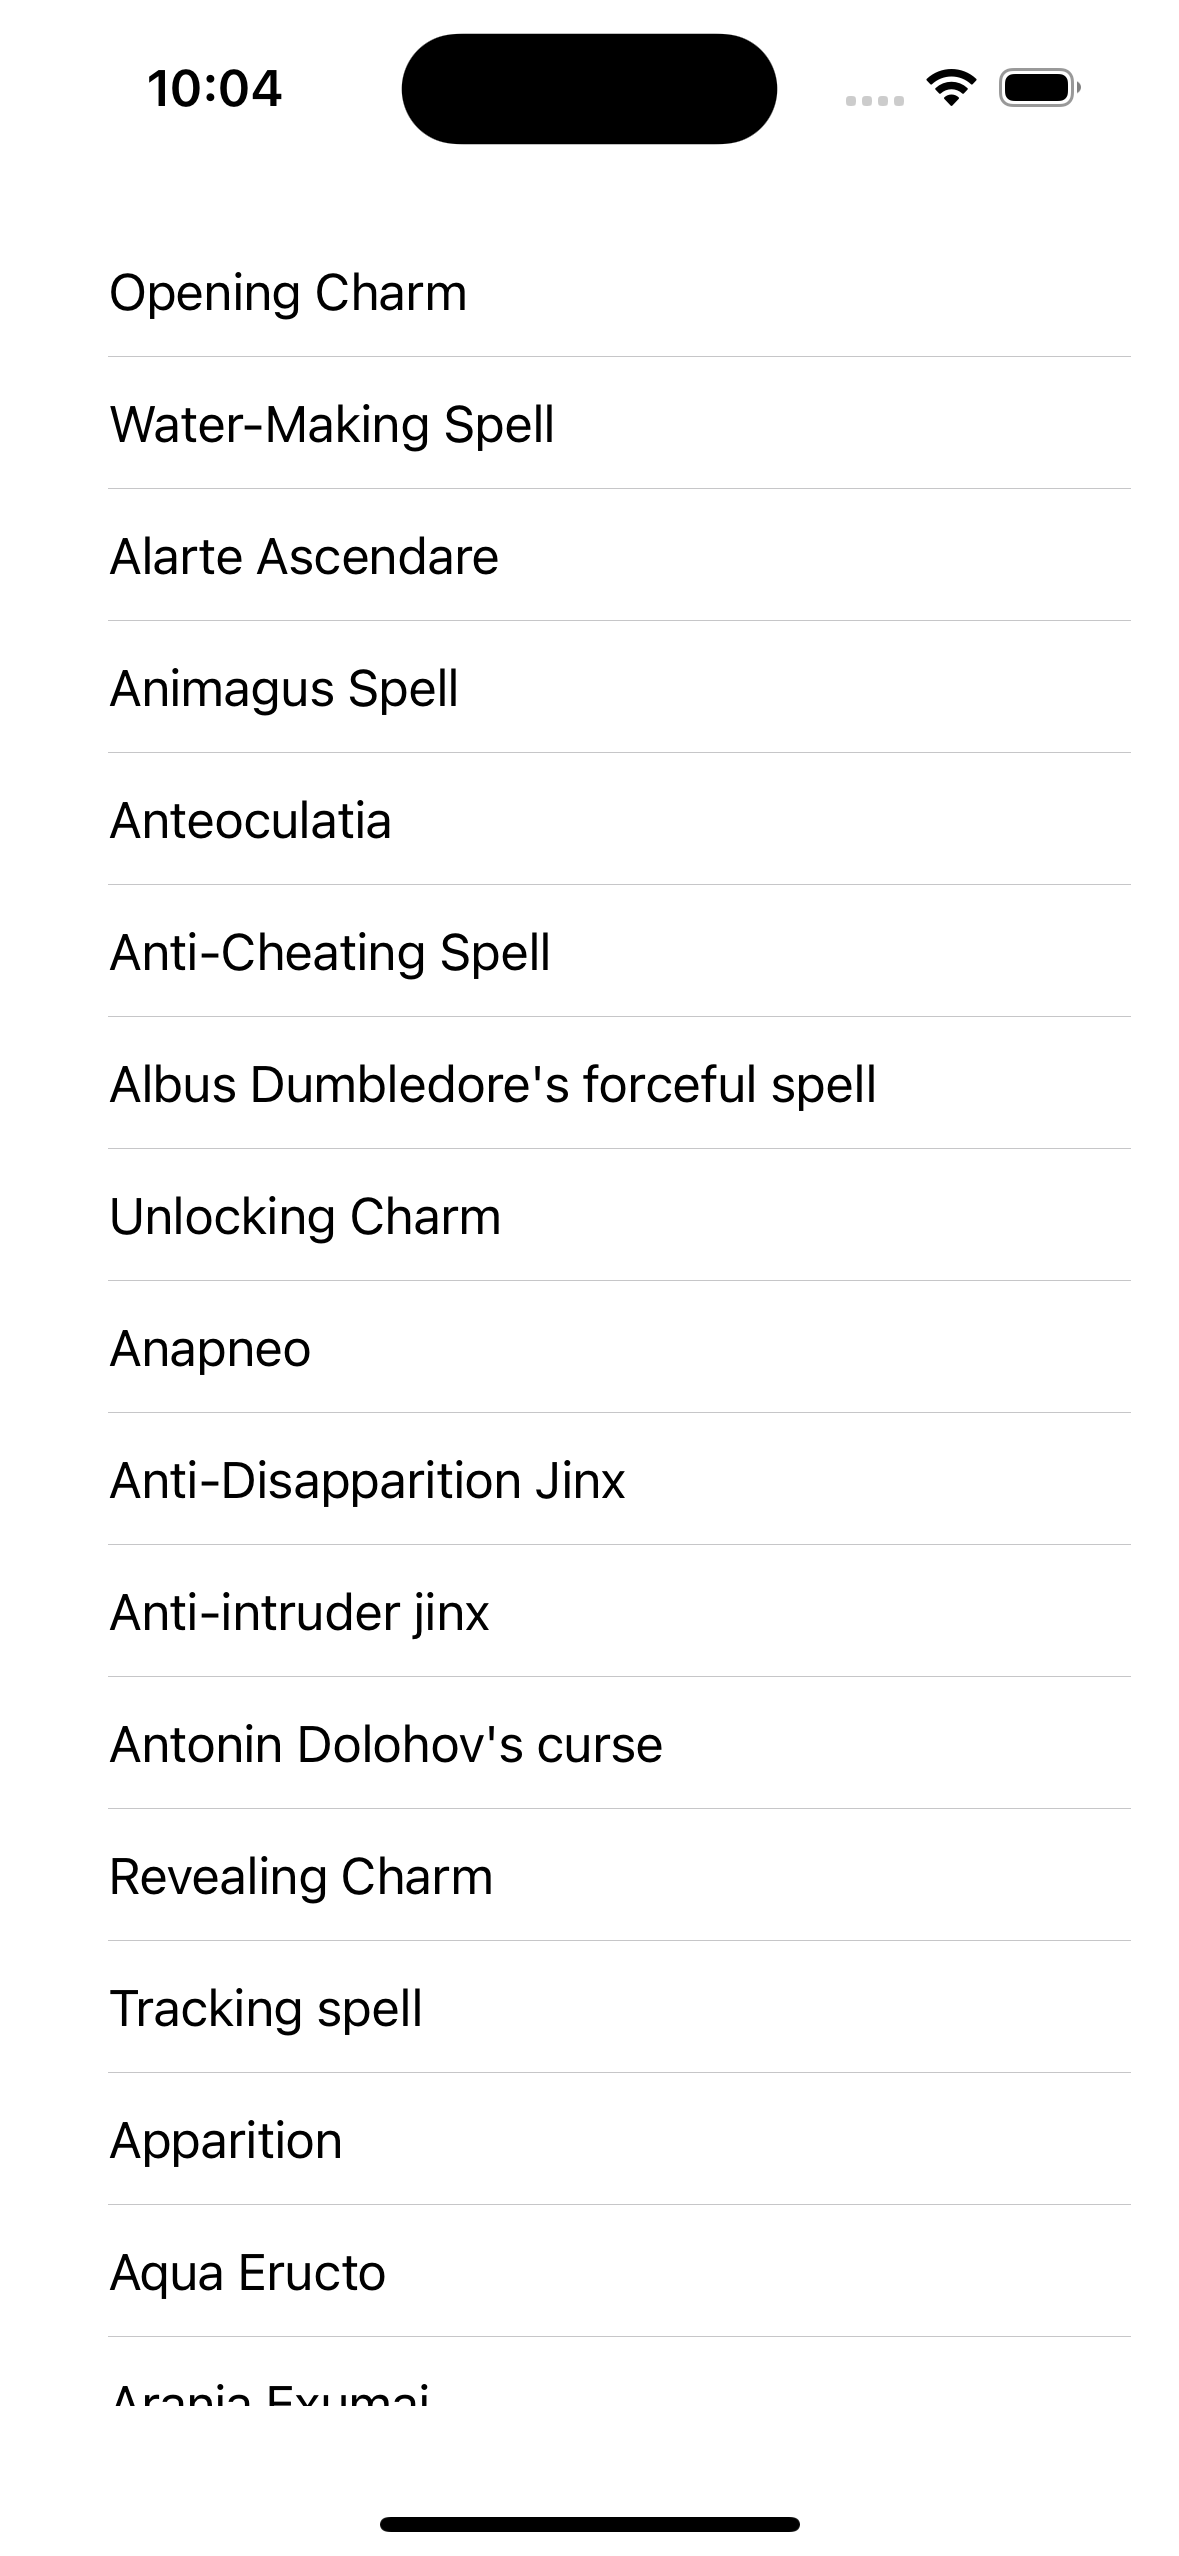
What we can glean from this is Apple signaling that they don’t consider Table as a great compact experience. Ideally, they want you to consider creating a compact experience.
An example would be using a List with rows that display the data more creatively (have light change the row color, use symbols for type) or with omissions (show the name and type, but navigate to a details screen with the rest of the information)
Another example would be to create a Table-like structure using Grid. There are differences, but it could yield similar results. But that’s a topic for another day.
Conclusion
Adding a Table to your app can leave your users spellbound. It takes little to present our data beautifully on the screen, and adding functionality is straightforward. There’s more you can add, edit, and enhance with a flick of your keys and wave of your mouse. Consider playing around further and see what other magic you can uncover!
You can find the code here!


