

Sourdough - March 25, 2024

To make the starter:
Glass jar (I’ve heard plastic is OK, but I use glass)
any unbleached flour (bleach kills real yeast)
water (use the cleanest water available to you)
Pick what “parts” is going to mean to you. I used cups the first time. If I had to do it over I would cut that in half to cut down on waste as there is only two of us in this house. If I had kids I would use cups as “parts” and begin with 1 cup water and 1 cup flour on day one and keep it up using cups.
Day 1 - Mix equal parts flour and water in jar, loosely cover
Days 2 through 5 - Discard (Pour out) half of the mixture (feed to chickens) now feed it (add to it) 1 part flour and 1 part water, mix then cover loosely. Towards day 4 or 5 you may start seeing some fermentation bubbles, yay.
Day 6 - you should start seeing some fermentation bubbles or may have already seen some by now. On this day discard as much as you want to while keeping in mind you will be feeding it also.
Day 7 - Your sourdough starter is born. Tradition has it that you give it a name. It is a living thing. I live in NC, hot and humid 9 months of the year. I keep mine in the fridge which slows down my starter’s appetite. In winter I will sometimes let him live on the counter by my stove top.
Now that it’s born you no longer need to feed it daily, only feed it when it’s hungry, developed scurf (see below) or when you use it.
Care and feeding of you new pet:
We named ours Bruce. Well, I hollered out to hubby to give me any name that came to mind, he said Bruce and there you have it. Occasionally you may see a tan to brownish liquid form on the top of your starter, this is scurf. It’s harmless, pour it off or mix it back in, I’ve done both with no difference in results. Scurf means that your starter needs to be fed. So feed it. Discard whatever you want to and feed the discard to the chickens, or make pancakes with it, whatever. Then feed your starter and store it as usual.
Your starter will be hungrier in warmer conditions. If you’re not cooking with it, it’s probably best to store in the fridge. You will get the hang of keeping your starter exactly where you want it for your needs. You will find that freshly fed, bubbly starter is best for breads and rising in general, discards are best for other things.
Once your starter is rockin and rollin, maybe a few months old, and you can rely on it, then this is the time to make backups. Use some fresh bubbly starter to make Bruce-cicles. Freeze some of your starter in ice cube trays, put the cubes in a ziplock with the date you made them and the date 9 months later that you have to use them by.
If you accidentally kill your starter then use a few cubes to quickly get some starter going again. When doing this use 2 or 3 cubes thawed in a container. Add a few tablespoons of room temp or warm water and the same amount of unbleached flour to the melted cubes. See steps above for the pattern. However, doing this you should have a fully robust starter again in 2 to 4 days.
Some women have neglected their starters in the back of the fridge for the entire last trimester of their pregnancies and still revived it from a tiny bit that was left under the scurf. Once strong and established it’s REALLY resilient.
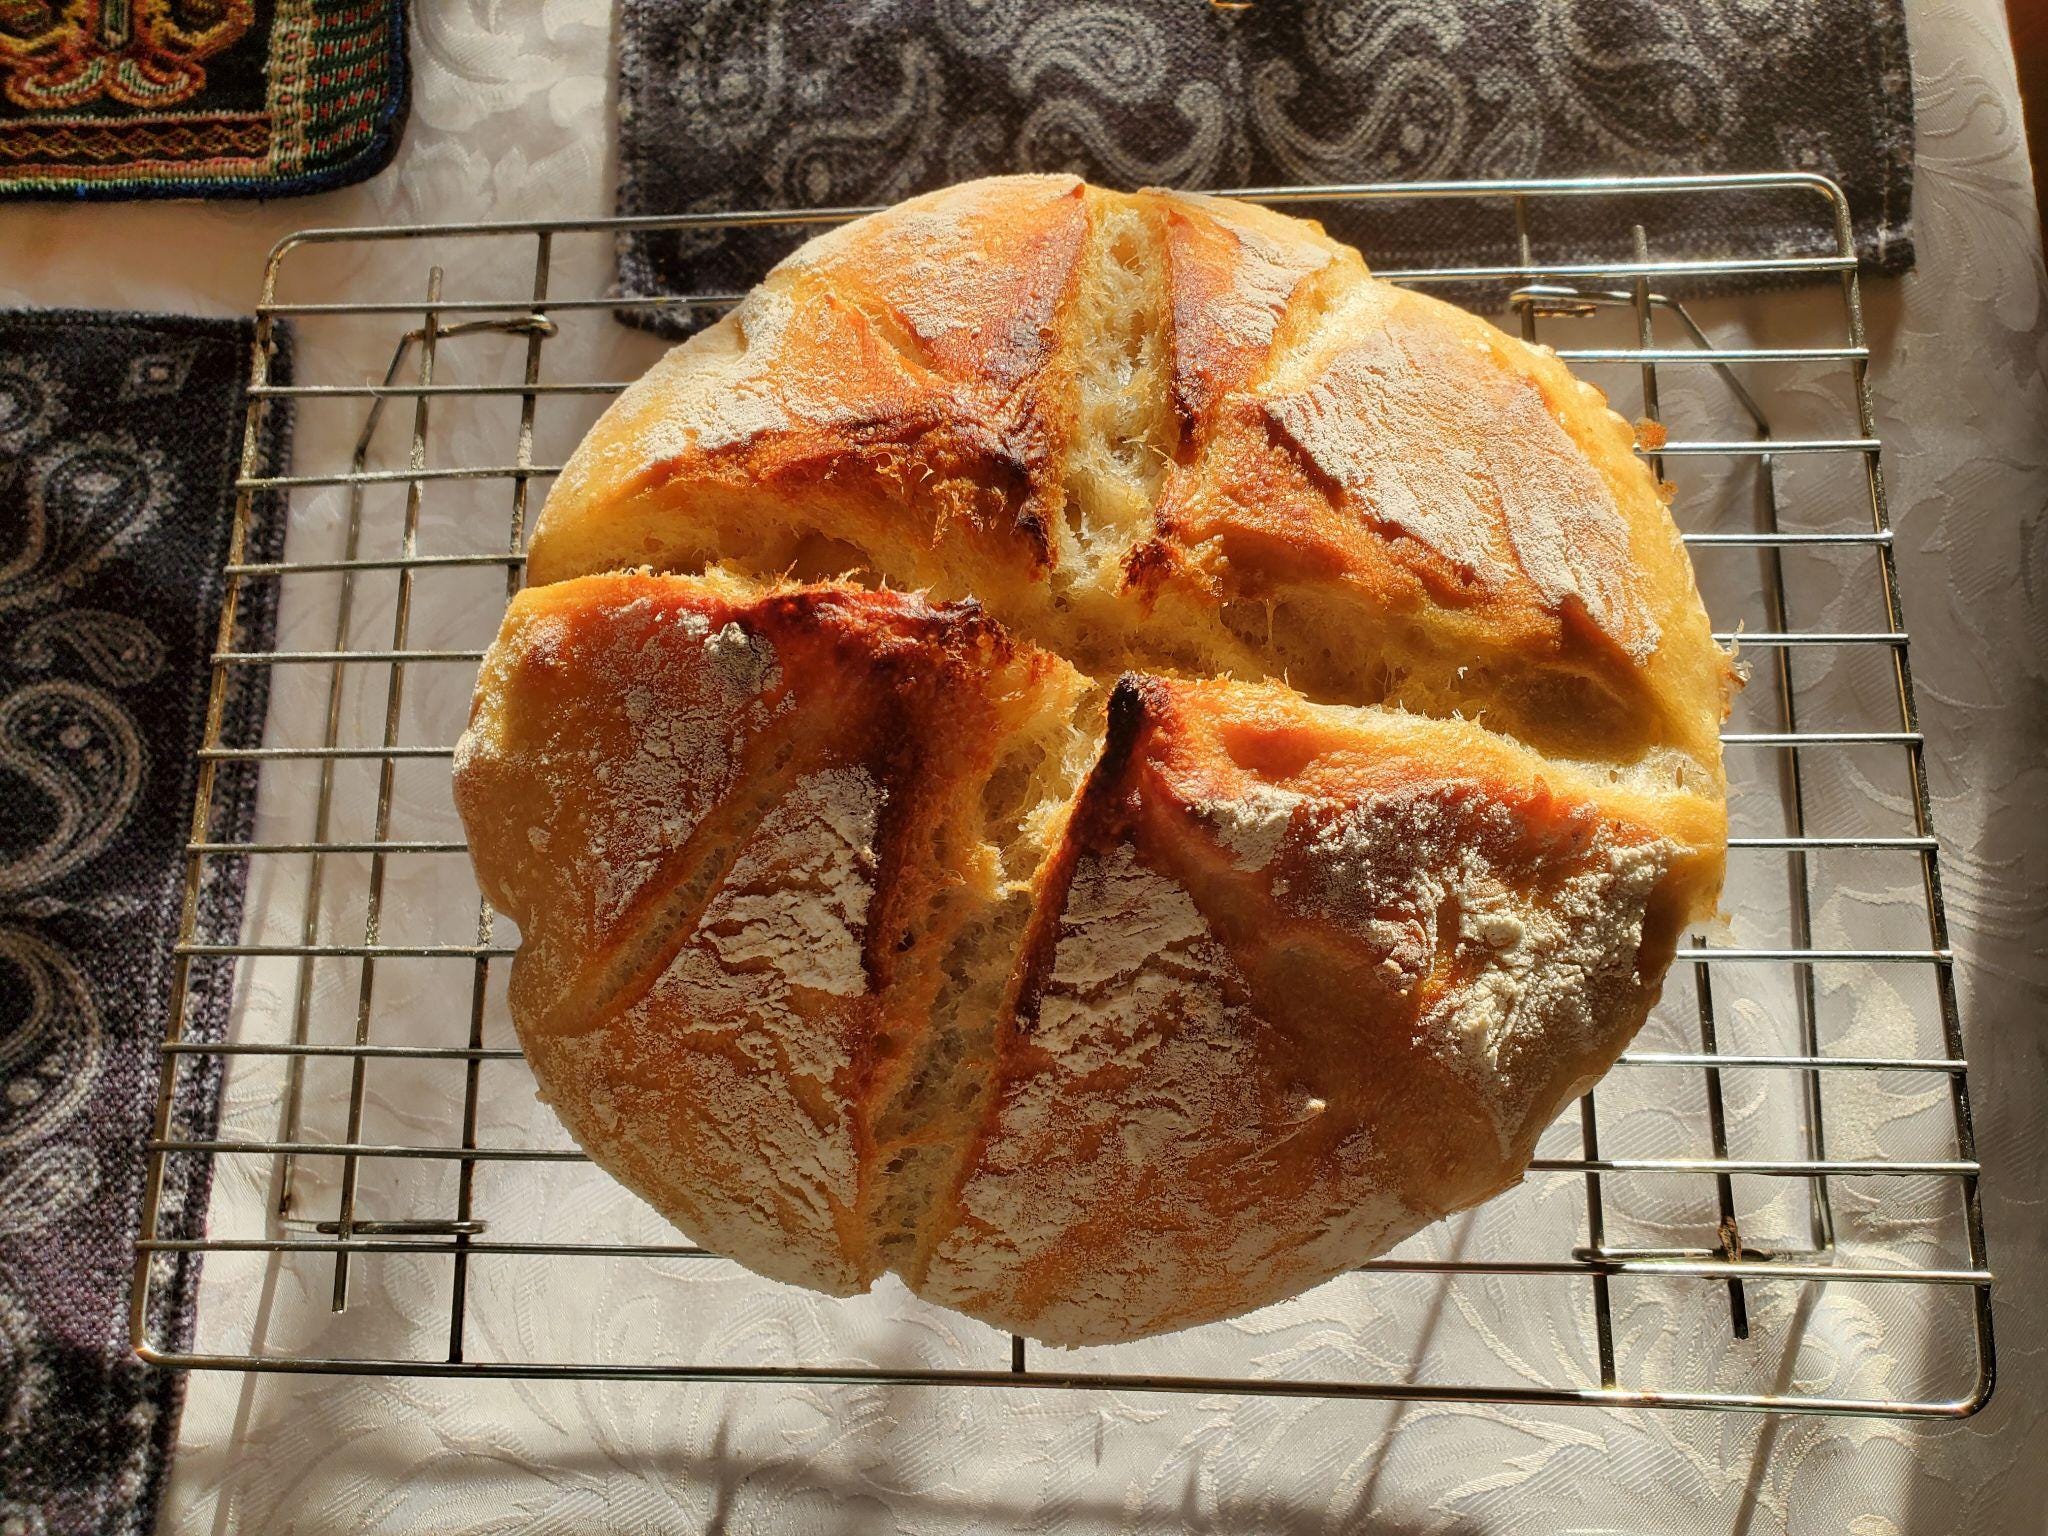
It’s imperative that you begin cooking with it. This is how you really gain the deep knowledge of what it can and can’t do. You learn the differences in what it tastes like when you use rye flour or whole wheat to feed it. Once you have a standard sourdough loaf mastered, which only takes about 3 loaves to do, you will most likely start branching out to other things. Hopewell Heights and Farmhouse on Boone are my two go-tos for sourdough knowledge. These women make their money off of You Tube so they have sponsors. DO NOT be intimidated by their plethora of tools and gadgets. I make beautiful sourdough with my cheap cast iron dutch oven, a basic razor blade for scoring and pre-existing dish towels and bowls for the bulk fermentation. The only thing I had to buy for this was my cast iron dutch oven, which I was going to buy anyway. I wrap my dough in a dish towel, and put that in bowl then in a grocery bag or a produce bag from groceries last week for it’s bulk ferment. I have had great results baking without the dutch oven also, so you don’t actually NEED that either. This was my first sourdough loaf.
Baking with sourdough starter:
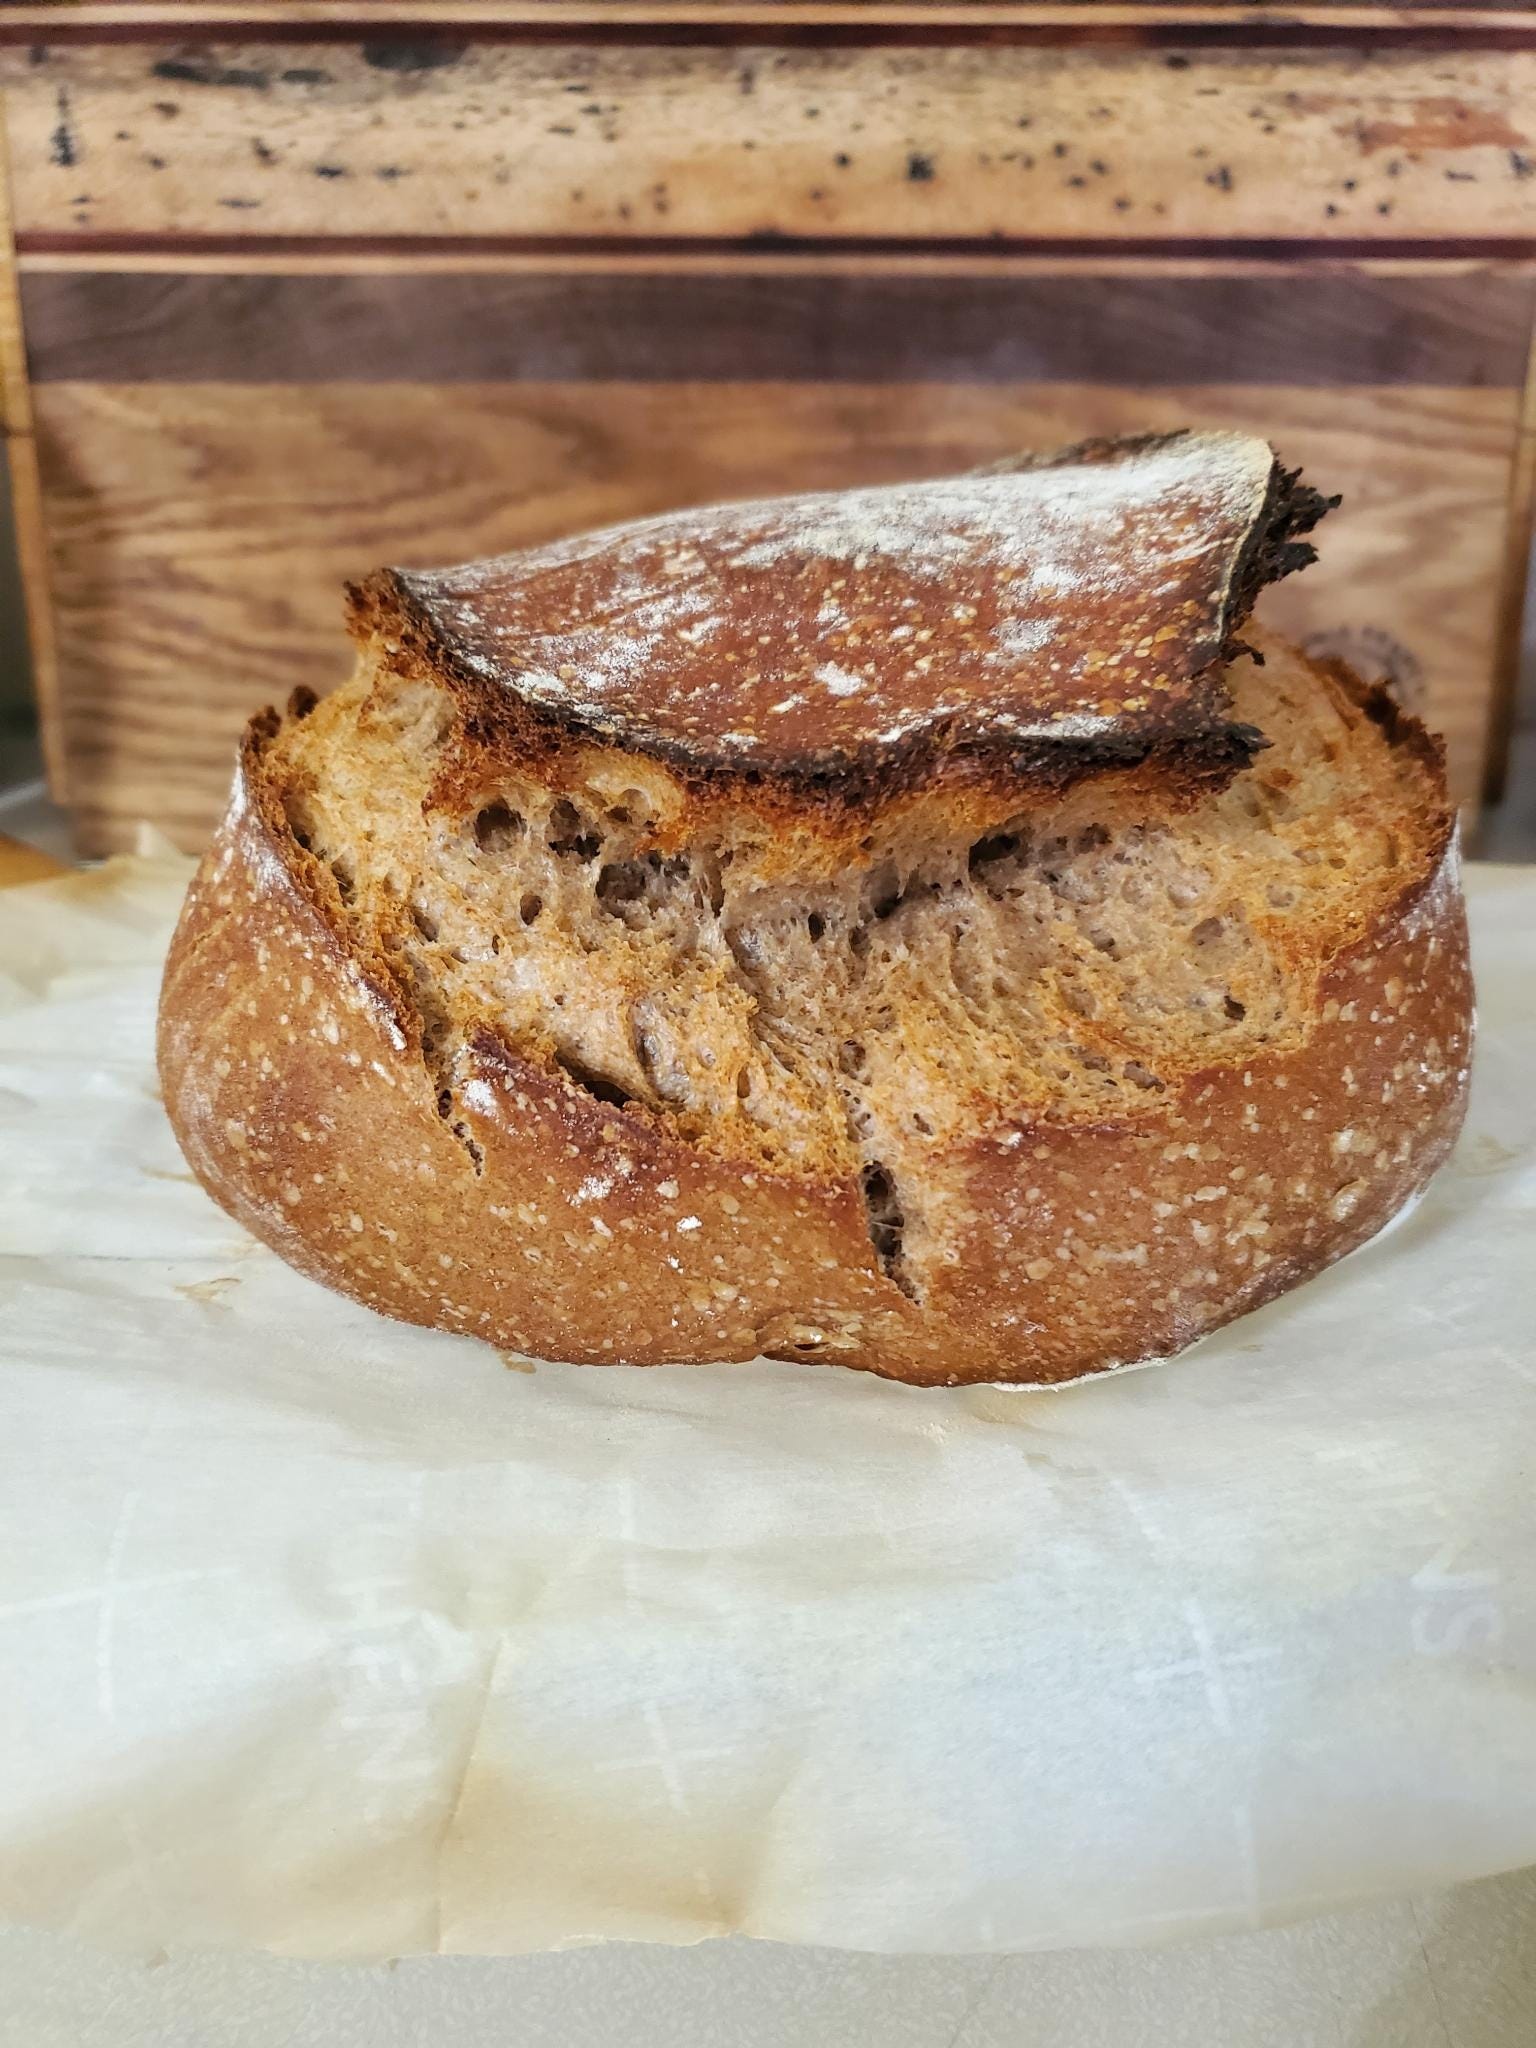
Get your basics from Hopewell Heights and Farmhouse on Boone, these ladies are great. Eventually you’re going to mess something up. No big deal, we have eaten every loaf that I “messed up”, they were all delicious. I’ve forgotten the loaf in the fridge for 2 extra days, results were an extra sour loaf, which we really liked. I’ve only done 3 stretch and folds and the results were a loaf with no big bubbles at all, which I really liked. I’ve overbaked by 30 minutes resulting in a double thick crust with some charring. I’ve baked dozens of loaves by now. Never had to give an entire loaf to the chickens. The only time it was close was when I tried baking a loaf with discard, that resulted in a really dense loaf, not good for bread or toast so I turned it into breadcrumbs.
I’m buying bagged unbleached flour because there is no bulk food place anywhere near me. I currently pay $11 for a 10 pound bag (on sale). Figuring out the cost of flour, salt and cooking gas, we estimate each loaf costs us a little under $2.00 to make.
KC